
As gearhead, we like things to work properly. It may be the coffee maker, lawn mower or a car. If we work on said item, we tend to look at the whole picture as in: I might as well fix that thing too since I got it apart.
This is such a story. My 1967 122S wagon/Estate/Kombi had a vibration in the driveshaft under load at take off. As you know, they have a split driveshaft with a slip joint and a center bearing held in a rubber carrier.
I replaced one u-joint and it was just ever so slightly worn. I also replaced the carrier bearing and rubber carrier even though there was nothing wrong with the old ones. I still had the vibration. So…I replaced all u-joints and then I took it to Drivelines NW who confirmed that the drive axle was in good nick.
So there I was…laying under the car…thinking…as one does…I have not had backup lights since I bought the car. The reason is that the back up relay grounding switch was missing from this overdrive conversion. Maybe I should just remove the transmission and replace said cover?
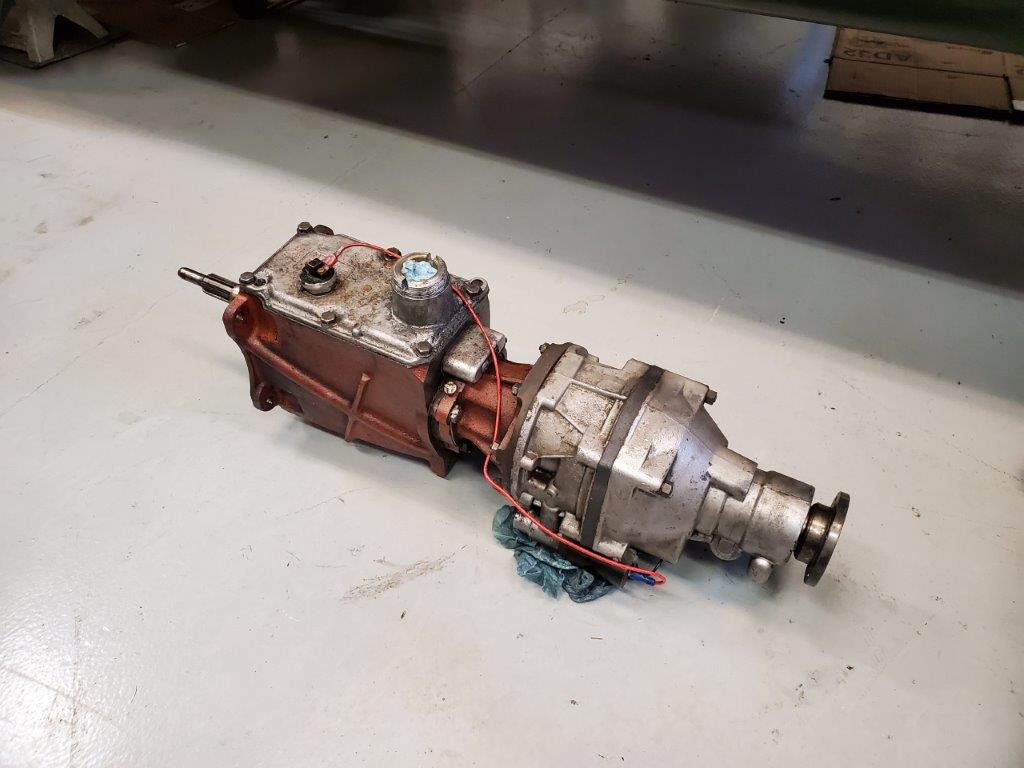
OK, here we go: This transmission came from a B20 1800S car and that is a good thing as they have the stronger J-type overdrive. However, the 1800 have the extended shifter lid and they have the back up light switch in the lid.
It would have a second switch to the right of the existing switch you see on this lid. The switch you see on this lid is for the 4th gear only engagement of the overdrive.
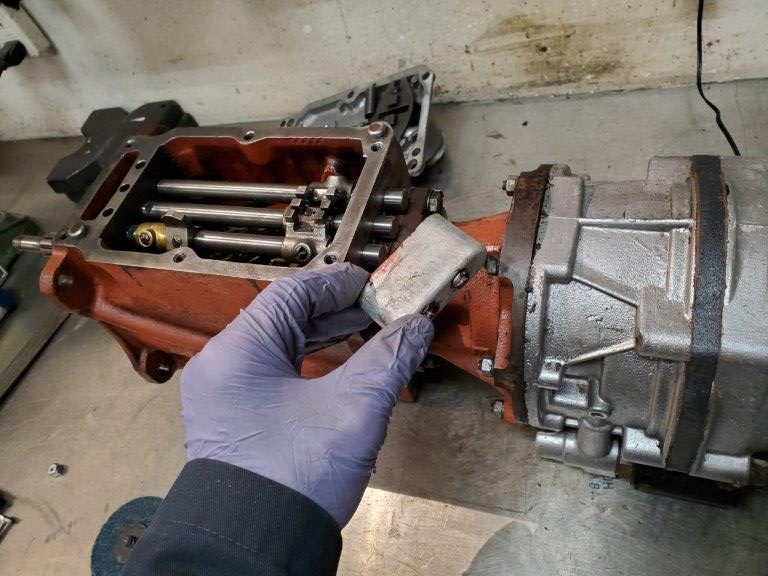
This is the cover where the back up light circuit should be grounded…except, there is no switch.
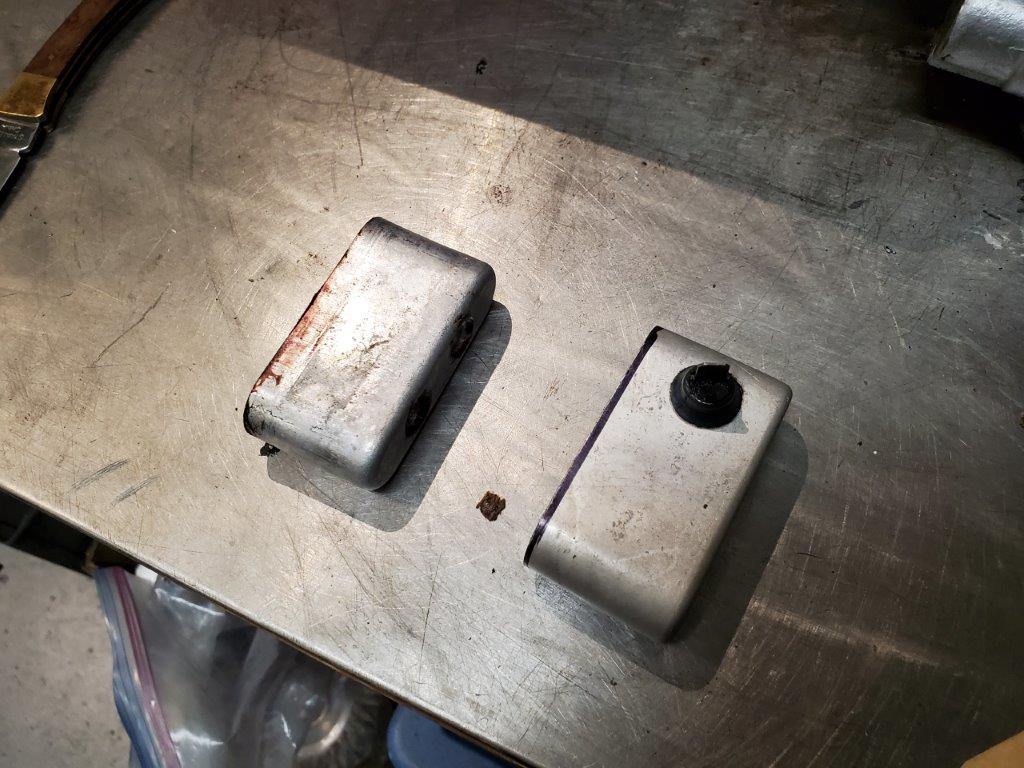
Using a rear cover from an earlier B18 car (right), I will get the grounding switch. It simple grounds the back up light relay when the shift fork hits it.
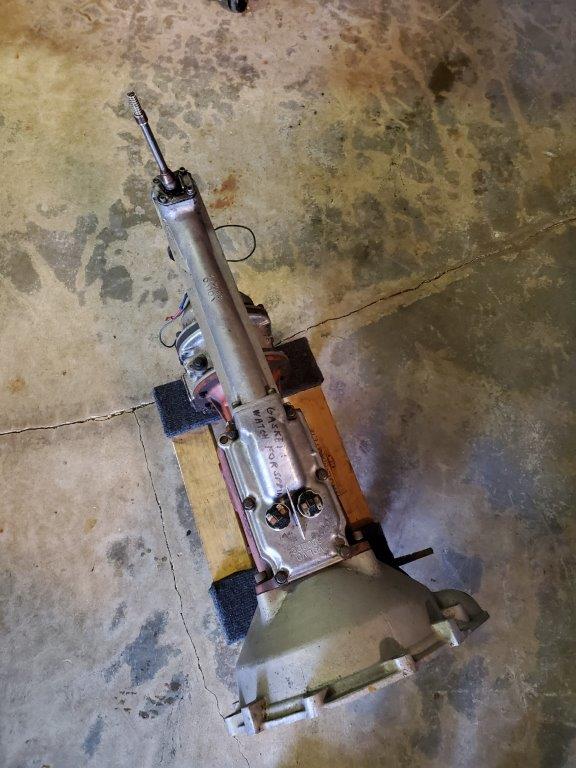
Some B18 1800 cars would have the back up light switch in the lid, one of these switches would be for back up lights.
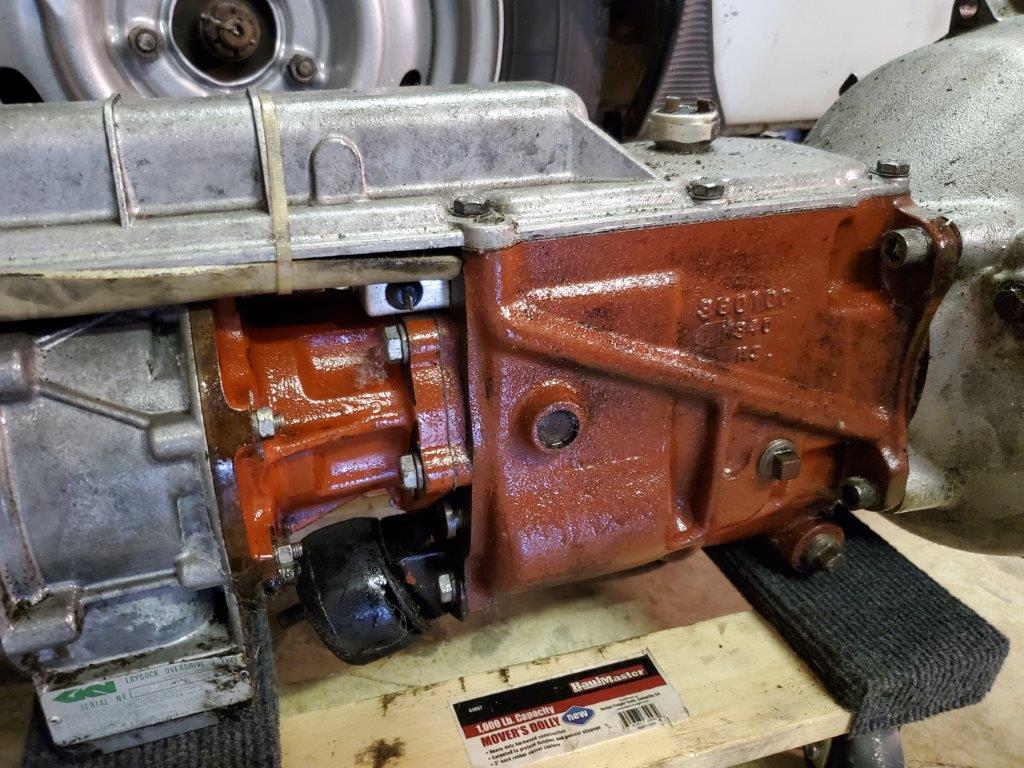
Since we are all nerding out on back up switches, get this: The later cars like this transmission from an 1971 1800E car went back to the rear case switch but this time facing sideways due to the lid, who knows why!
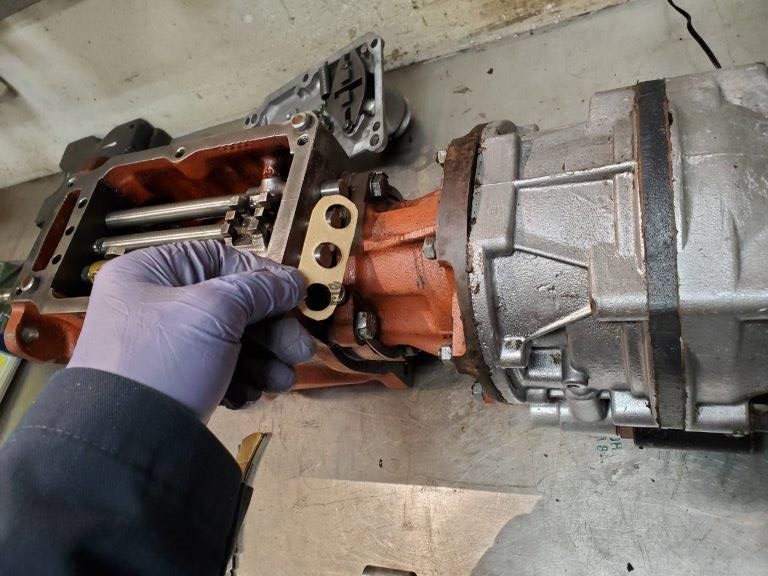
The cover is sealed with the flange gasket but I don’t want to take the overdrive completely apart so I just made a gasket just for the cover.
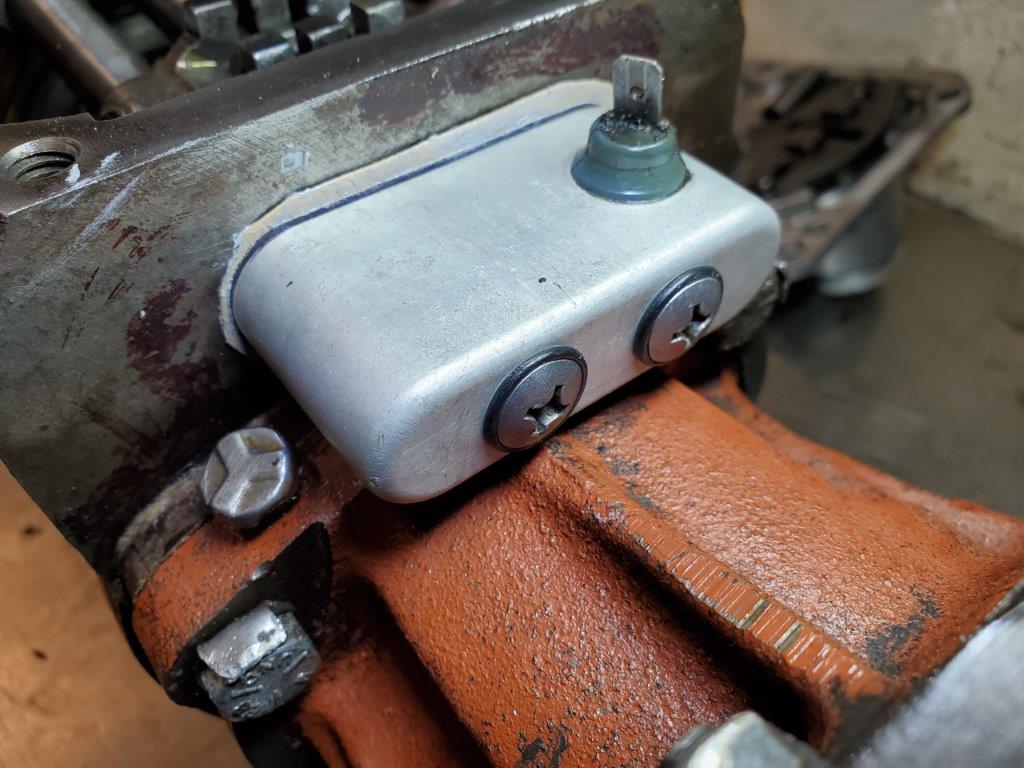
Even though this is high up on the transmission housing, there is quite a bit of oil slushing around. I added these o-rings to the screws to seal the lip. The screws are still bottoming out in the housing.
So here is where the “what about that” …ism it taking hold.
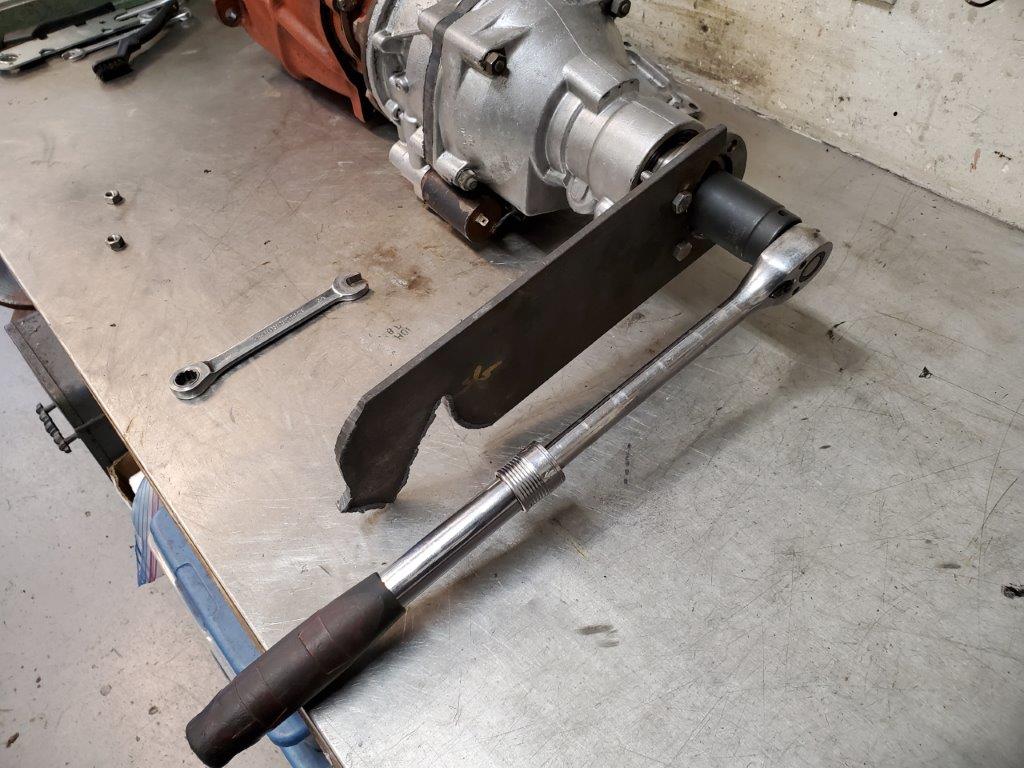
The rear flange area was a bit moist so I should just replace the rear seal. This is my homemade “Volvo SVO Rear Flange Holder On-er Tool”.
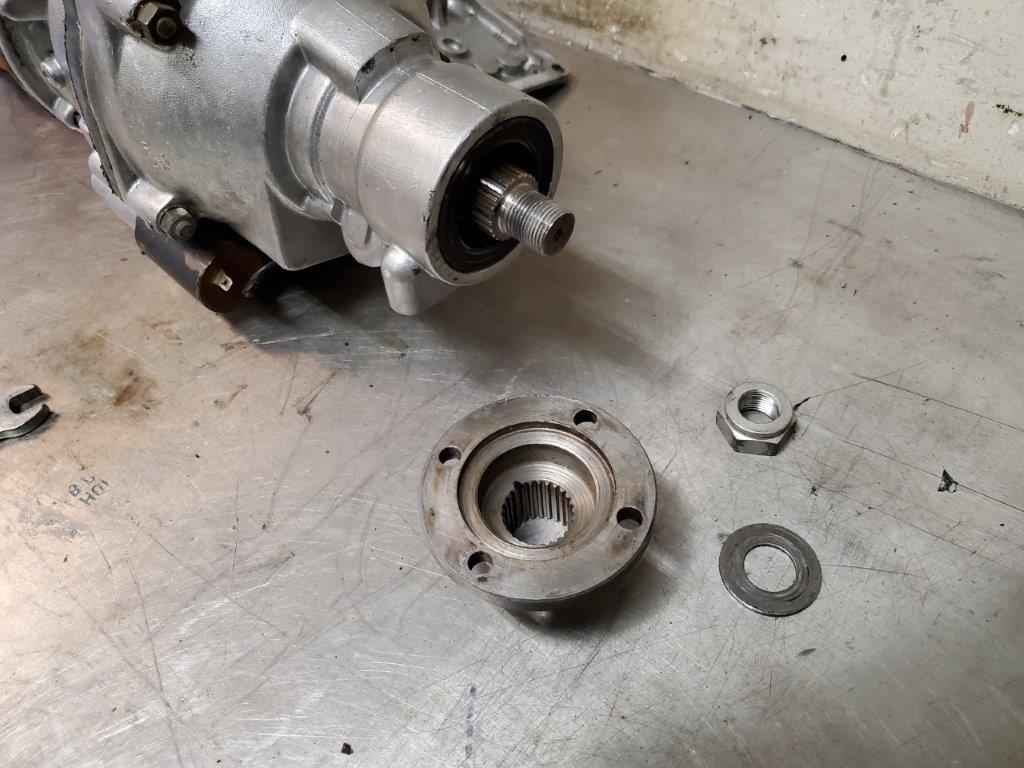
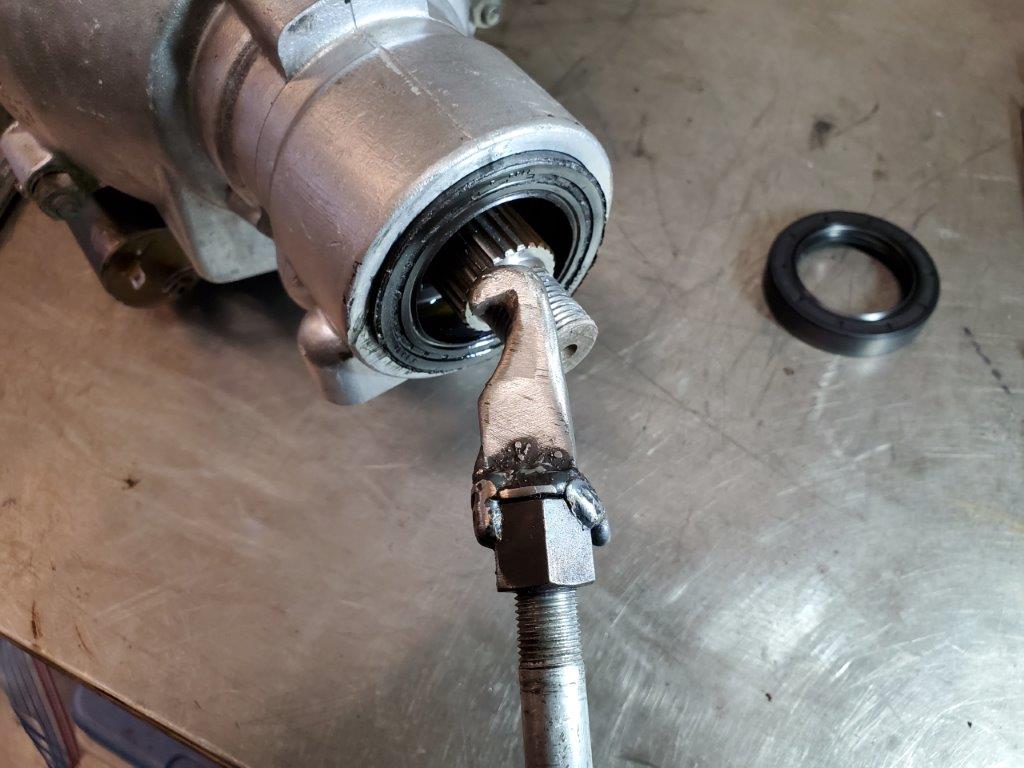
You don’t want to pry out these things out of an aluminum housing. Using a puller with a hook, I can remove the seal without touching the housing.
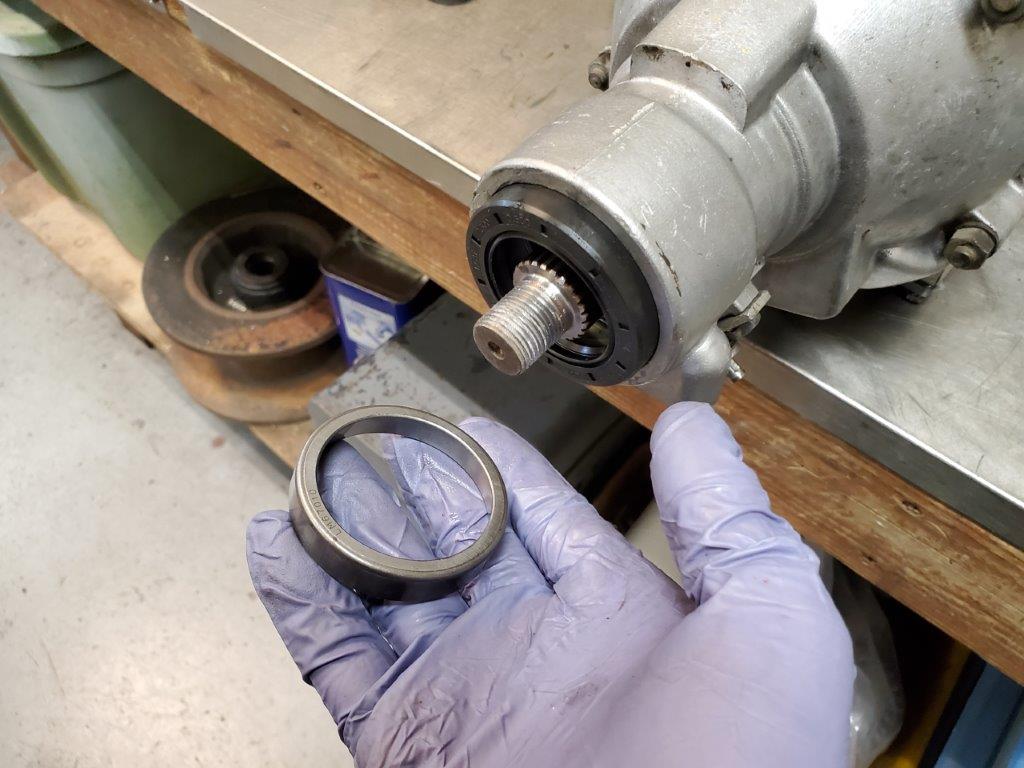
I don’t have any seal drivers so I used the flat side of an old bearing race. As long as it is tapped in evenly, you are good to go. The seal is flush with the housing.
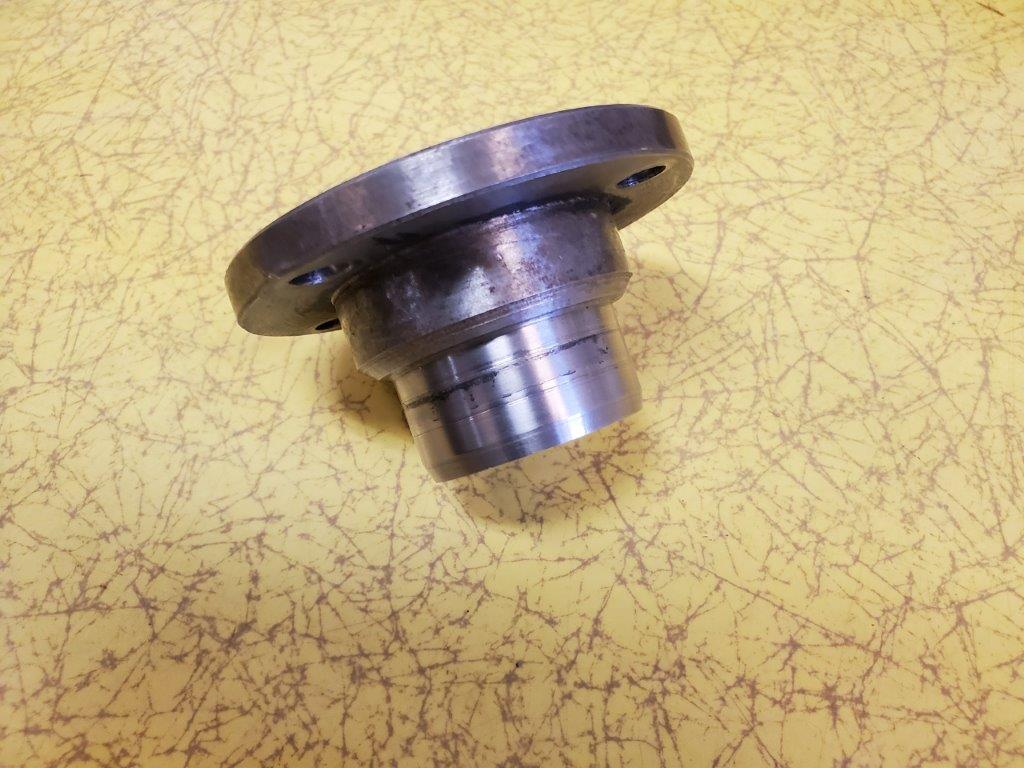
The flange had some wear in the seal area but it also showed some signs of being hit. Maybe it was dropped, who knows. Maybe if it isn’t straight, it may be part of the vibration issue. Now would be the time but a new flange is $300.00!
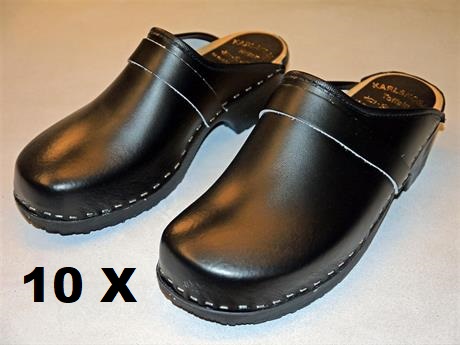
That is 10 pairs of Swedish Clogs!
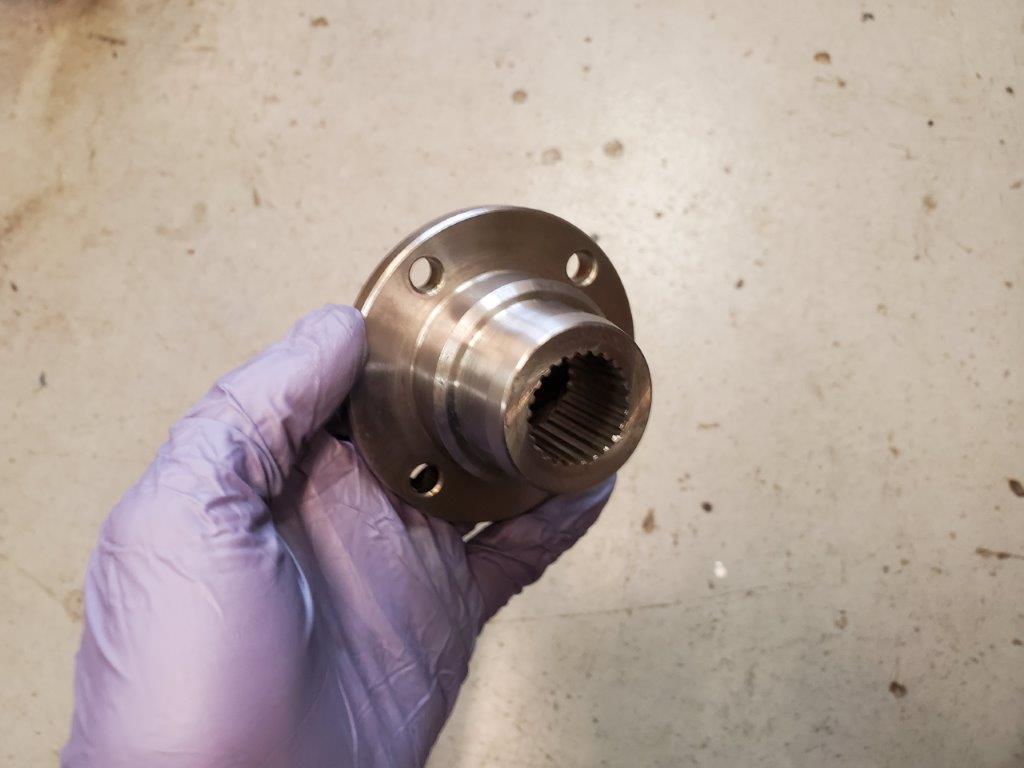
I found a nice used replacement at the maze called Transmission Phil’s Garage. He was very helpful and saved me about 8,5 pairs of Swedish clogs.
Before I entered Phil’s garage, I called my wife and said I loved her and if I didn’t make it out, take care of the dogs for me.
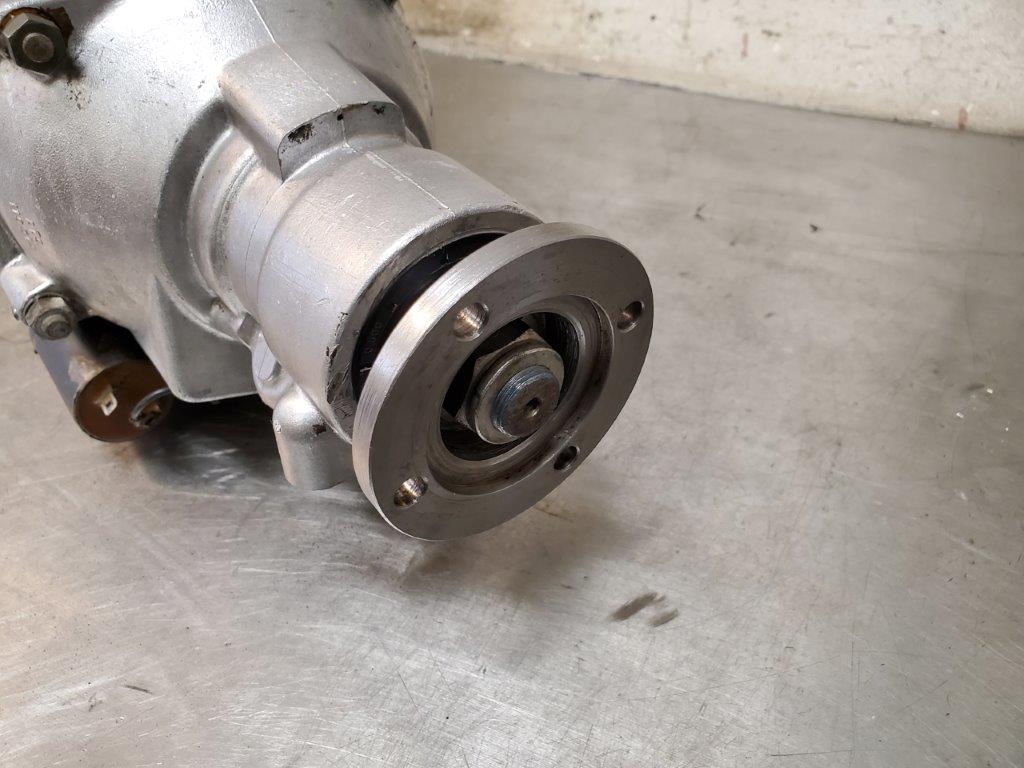
Looky here! Nice flange installed and torqued.
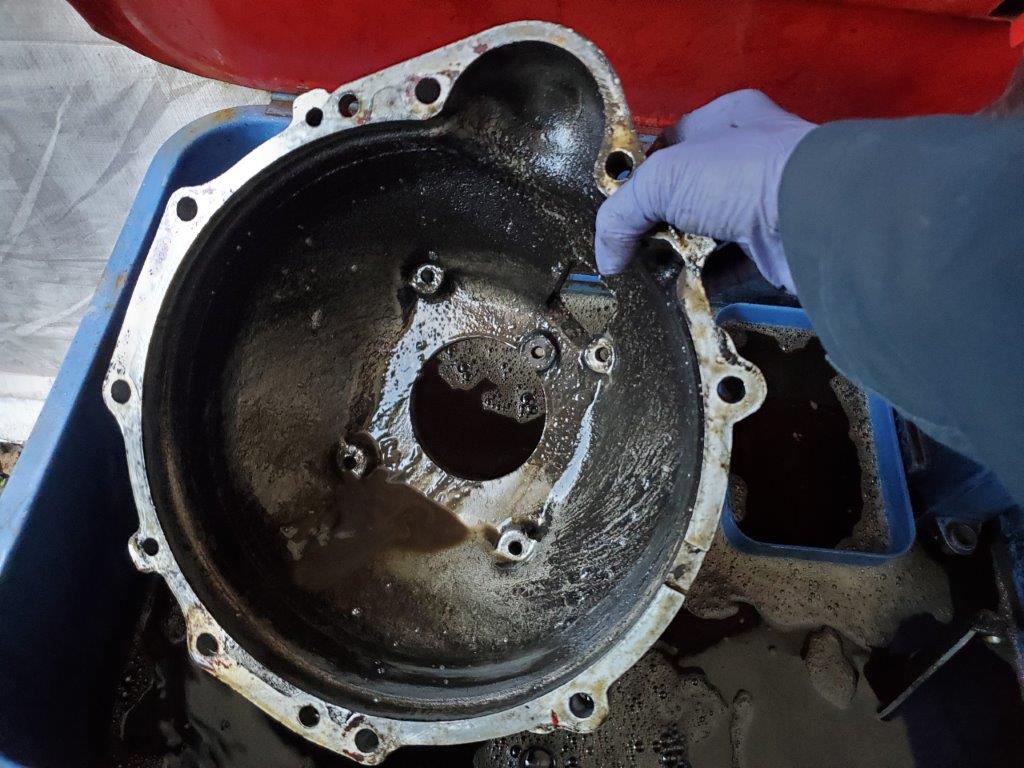
So what about the front seal? Well, when the inside of the bellhousing looks like this, we need to replace the front seals.
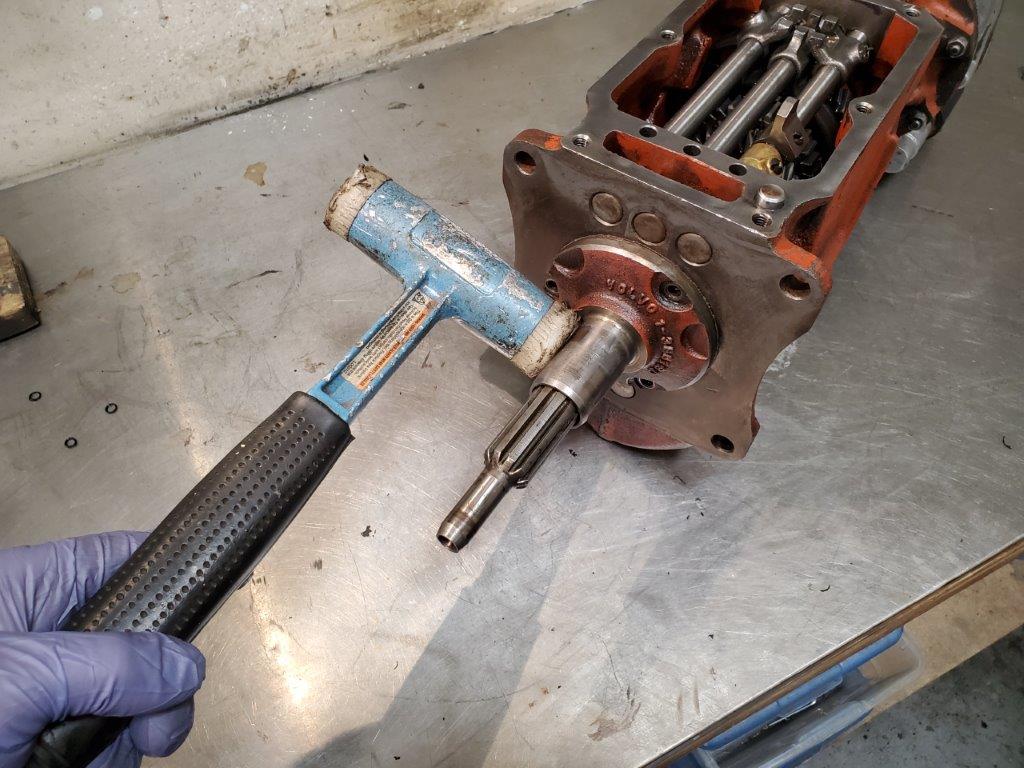
After the three bolts are removed, a gentle tap on the sleeve usually pops loose the flange.
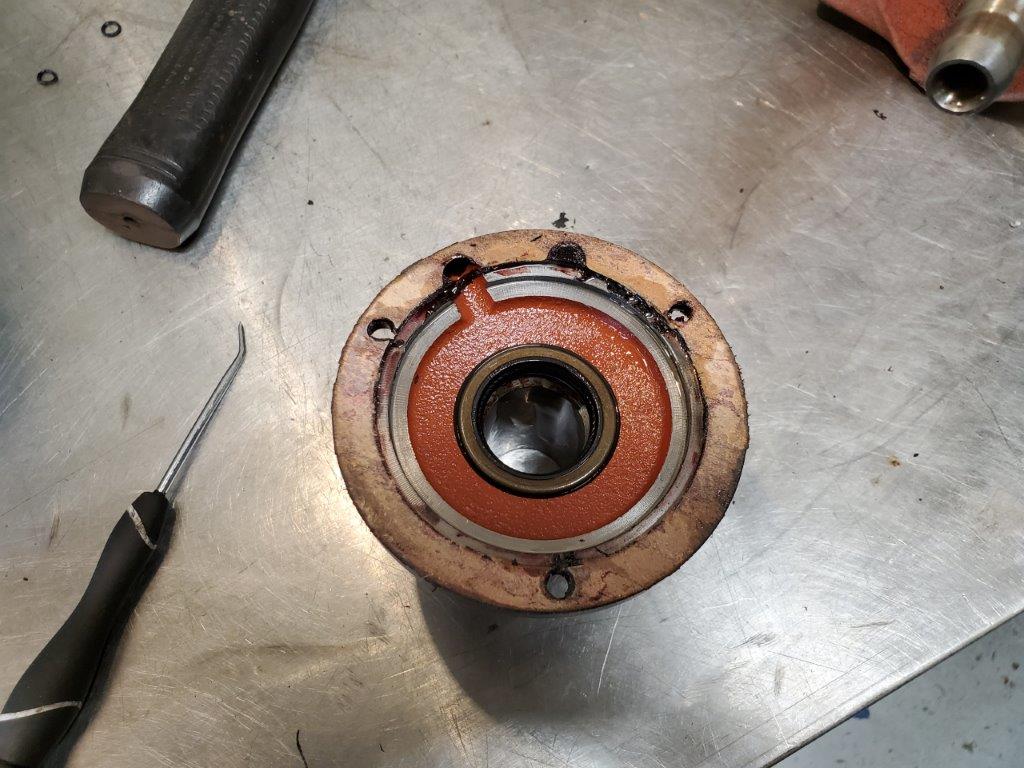
The flange has to be clocked correctly as it has an oil drain after the oil goes through the front bearing. Looks to me that this seal was installed backwards as well.
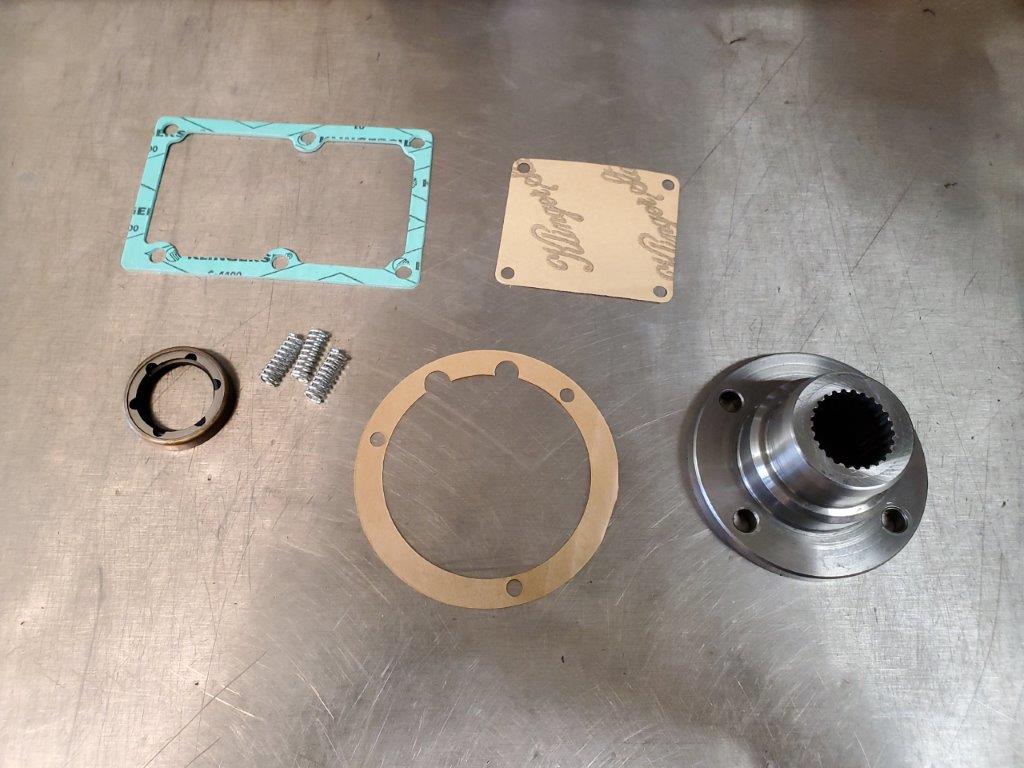
The front flange uses the bottom two parts. Also note, new shift fork springs to fix the “popping out of third gear whenever the car hits a bump”…problem.
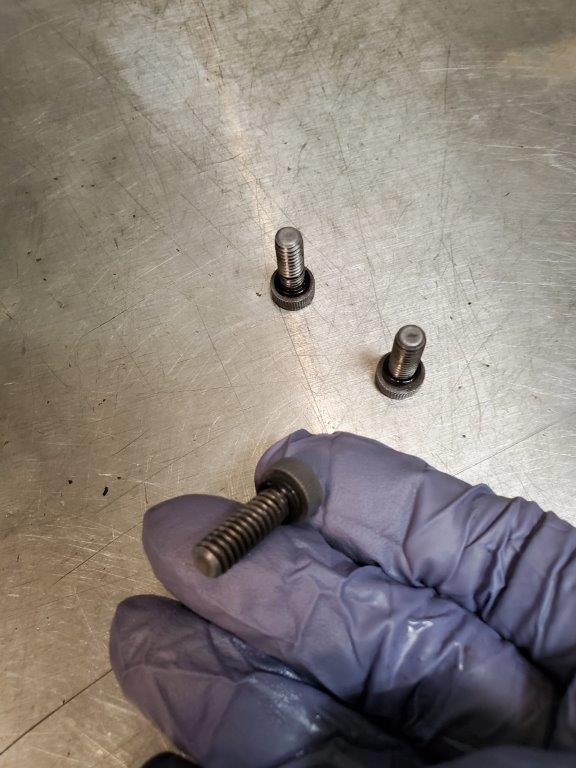
The bolts holding the front flange also have o-rings to prevent oil leaks. Any oil in this area can go in to the clutch.
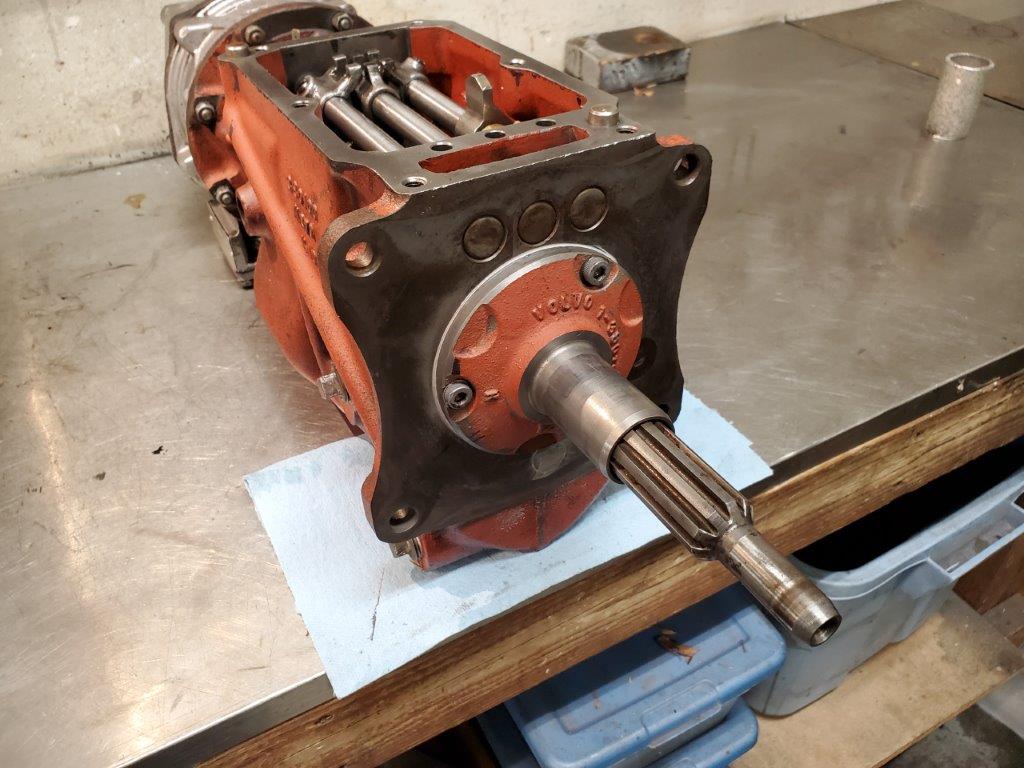
I use a thin coat of YamaLube on the gasket. It is an amazing product made for…you guessed it…Yamaha engines. It never gets hard to it tend to keep it’s sealing properties and also makes in easy to remove the gasket and residue if you take it apart later. Honda have a similar product, guess what they call it…?
HondaLube!
That’s all for now. Next we install the shiftfork balls, springs, lid, rear engine flange seal, clutch and more. Oh yeah, I had to remove the floor mats in order to remove the shifter and the the floor boards have surface rust. We better fix that. Well, since the floor mats are out, the left kick panel looks sad. Should fix that! Well, then I have to remove the hood release cable! Uhhhh….
So it goes! Stay tuned!
By Rolf Åström
