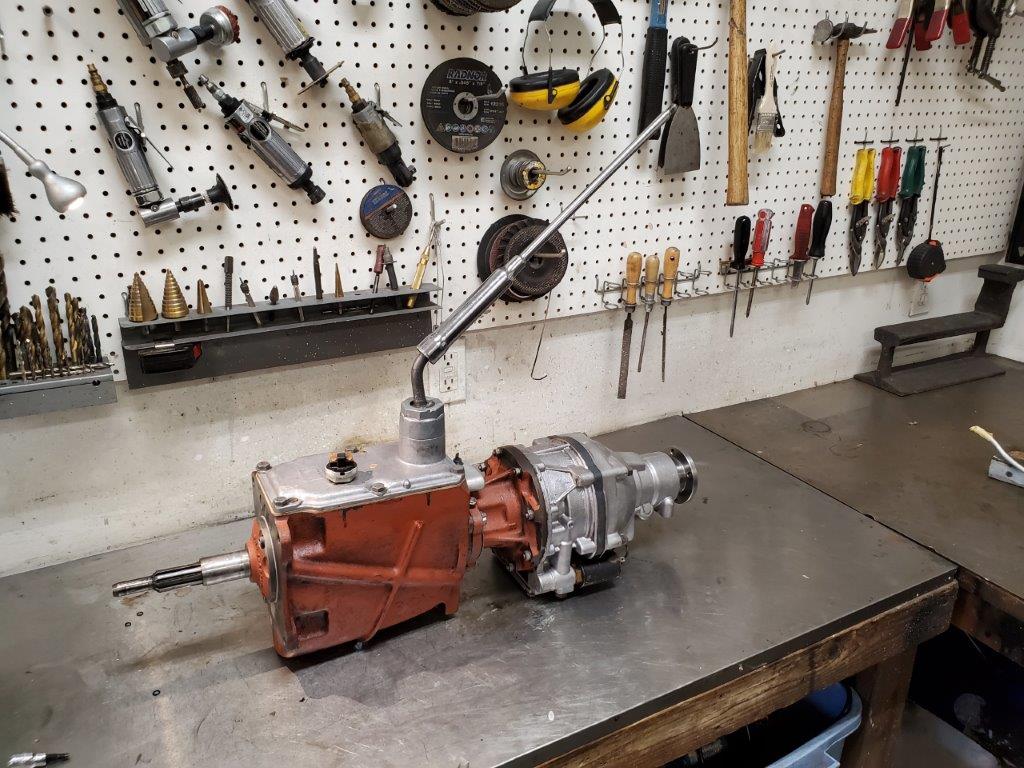
OK Volvonists,
Back on project Rabbit Hole, we are putting the 1967 Volvo 122S back on the road again.
With weather like this, we might as well make it another garage day.
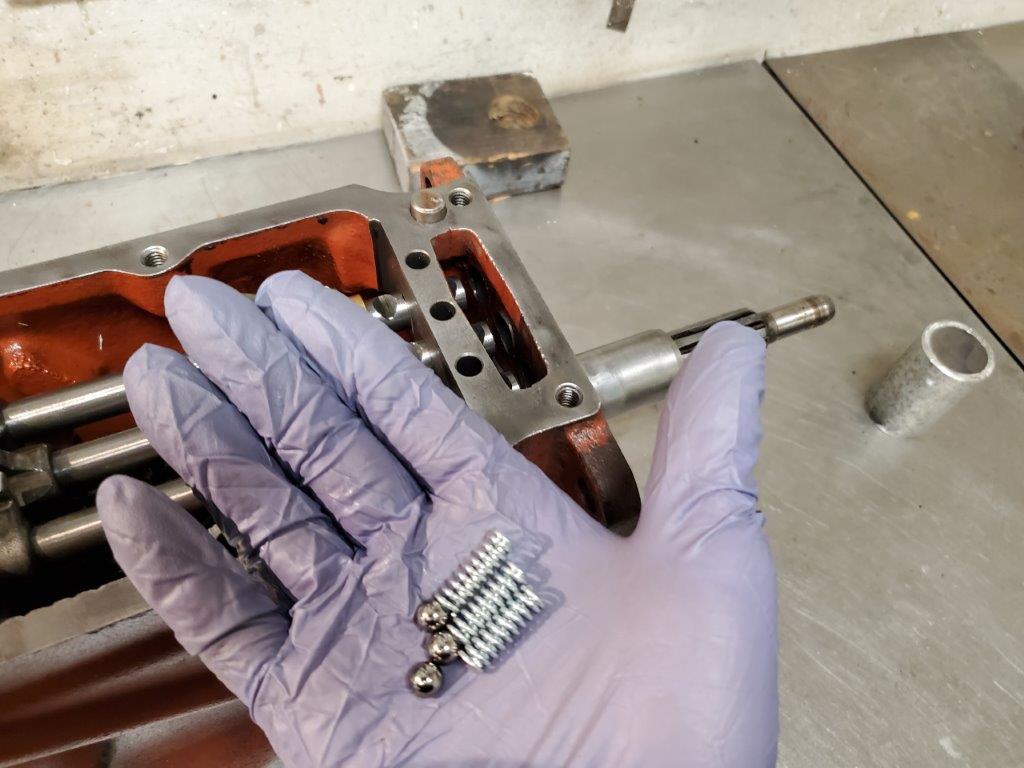
Spring in to action! Another issue that I have lived with for too long is that the shifter falls in to neutral when I am in 3rd gear. The long solid steel shifter is rather heavy so I have to hold the shifter in third gear especially on a bumpy road or on/off throttle.
This is obviously not an issue for those “nose in the air, I have a short sport shifter” 180o crowd!
The shifter location is determined by notches in the shift rods held in position by detent balls and springs. Just like some of us, as time goes by, these springs get fatigued and tired. These are new springier springs ready to spring in to action when I drive the car in the spring.
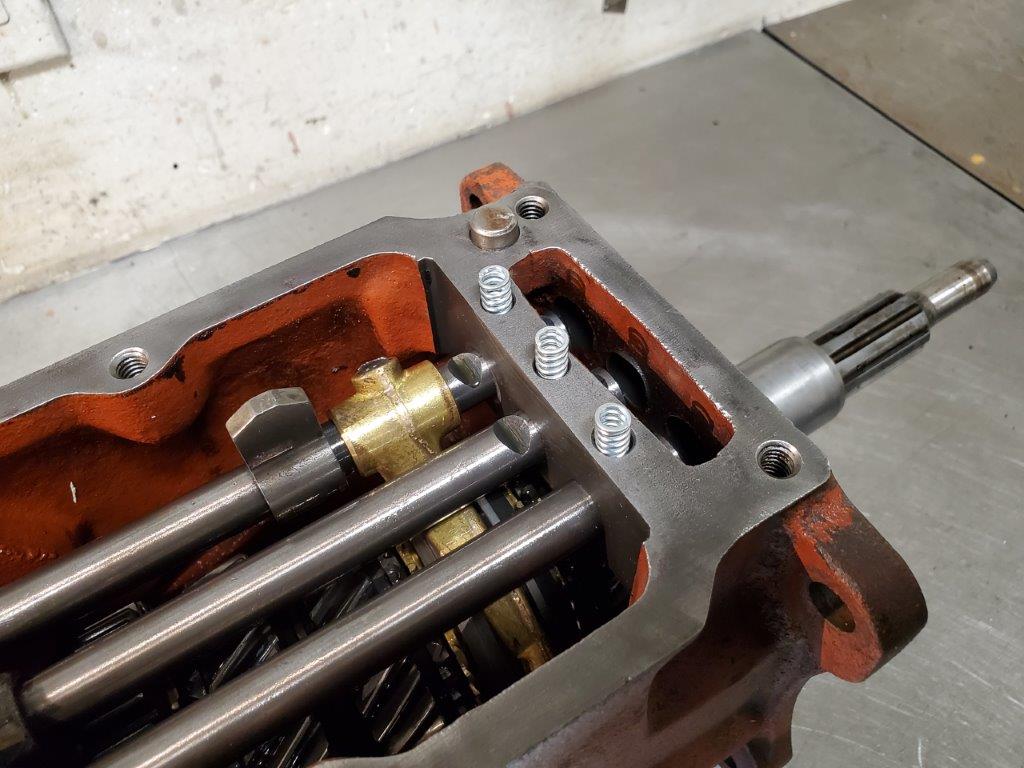
Balls first, then springs. Here you can also see the notches in the shift rods. The “fin” coming up from 3rd and 4th gear shift fork (top) interacts with the switch in the lid allowing for overdrive engagement in 4th gear only.
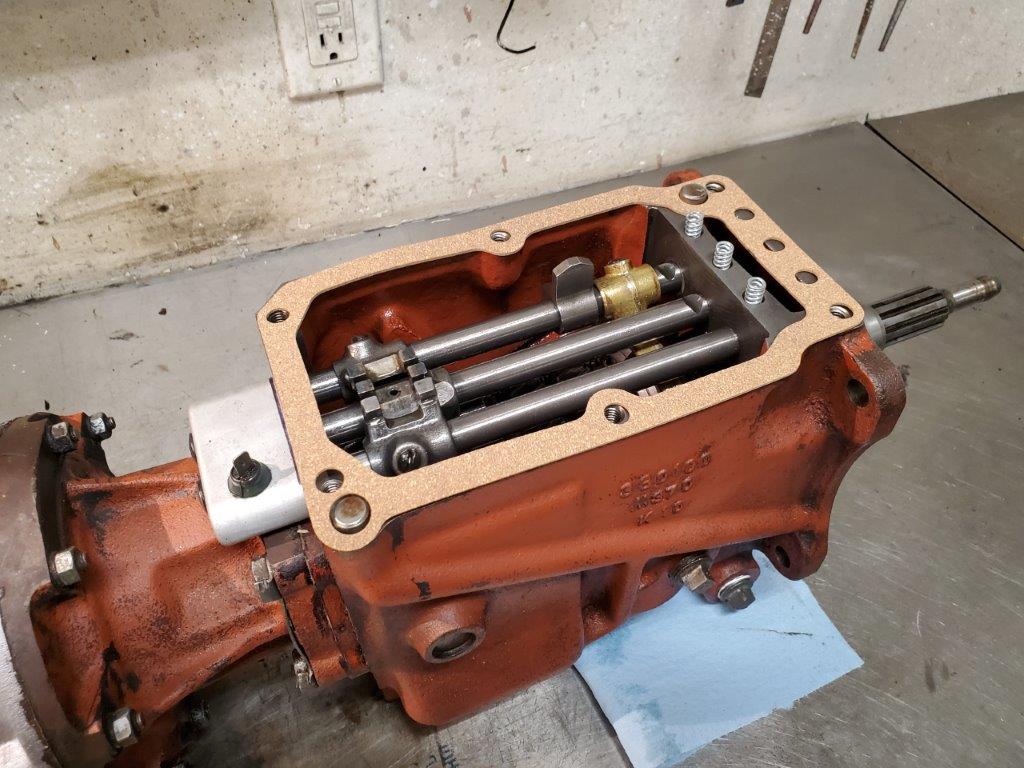
Many rare Swedish cork trees are sacrificed every year in order to make these top gaskets. There is a full time regiment of Swedish gnomes and trolls working fulltime just to replant new cork trees. They do save a lot of time though by growing the trees in the shape of an M40 transmission.
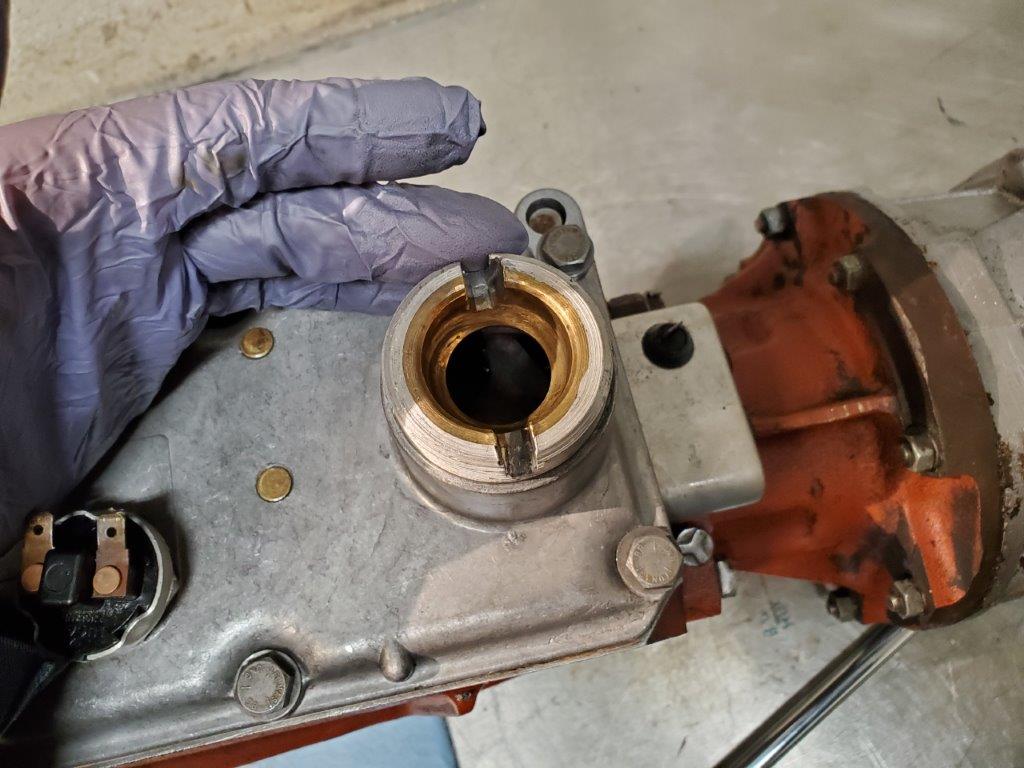
The lid is on. I do see some wear in the top when the shifter locating pins reside. That makes for a sloppy shifter side to side. Aluminum and brass is used in the shifter lid so it is rather soft.
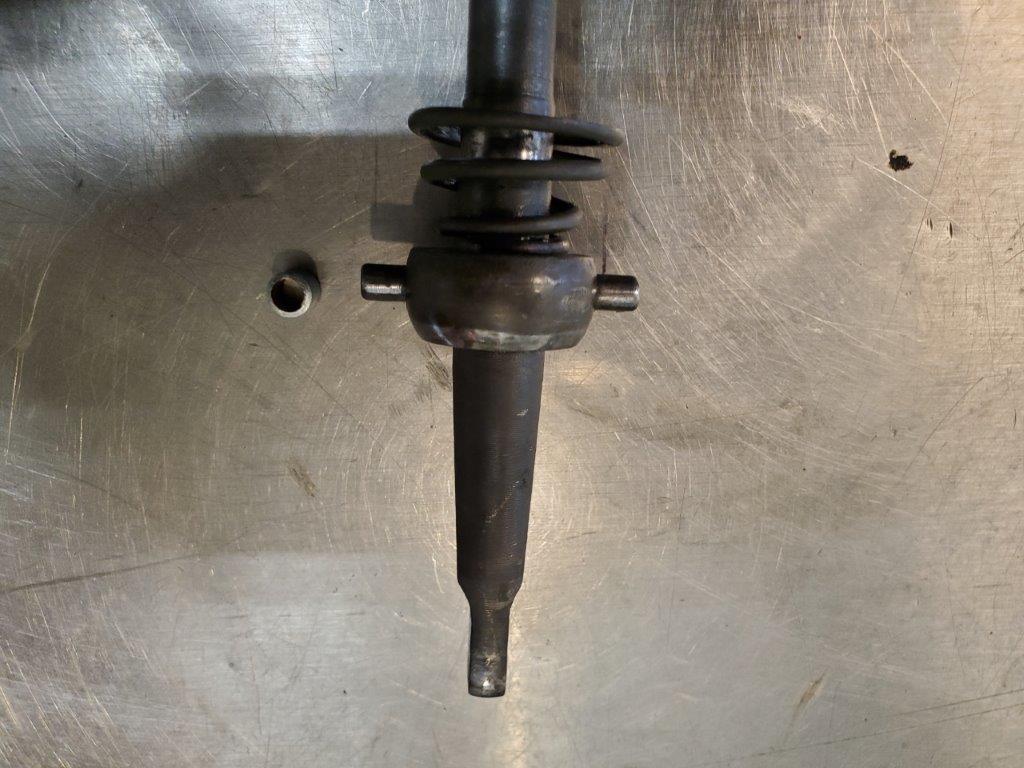
It is not easy to find a lid that does not have any wear so I came up with the next best thing.
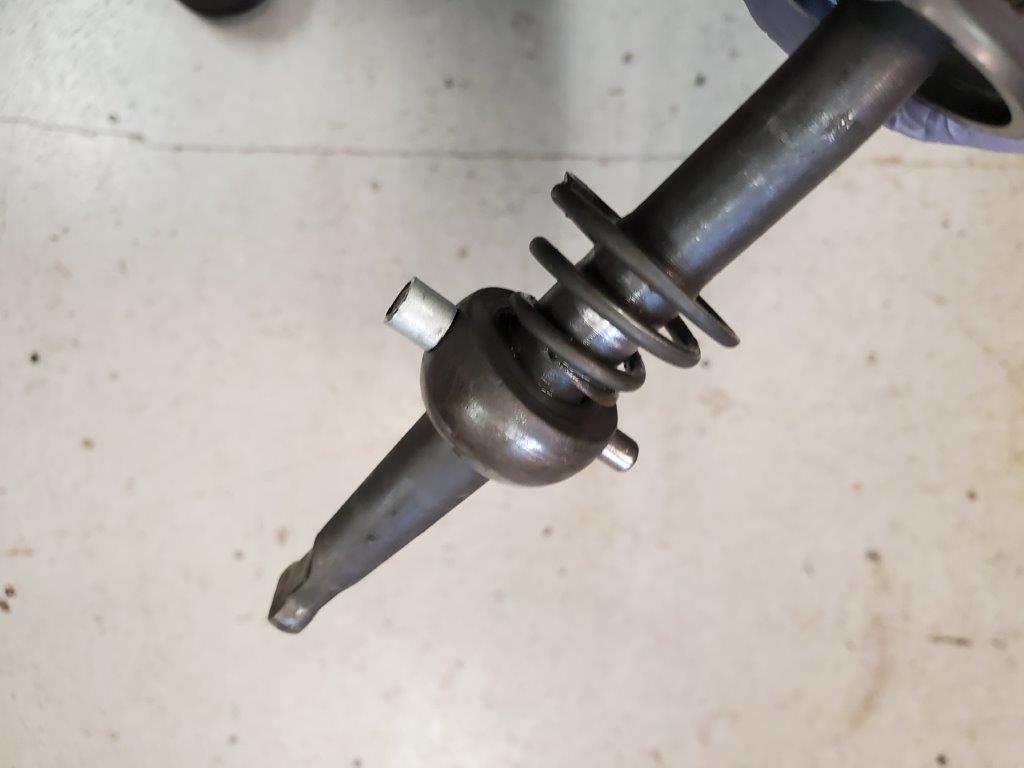
A bushing was made and pressed on the shifter rod.
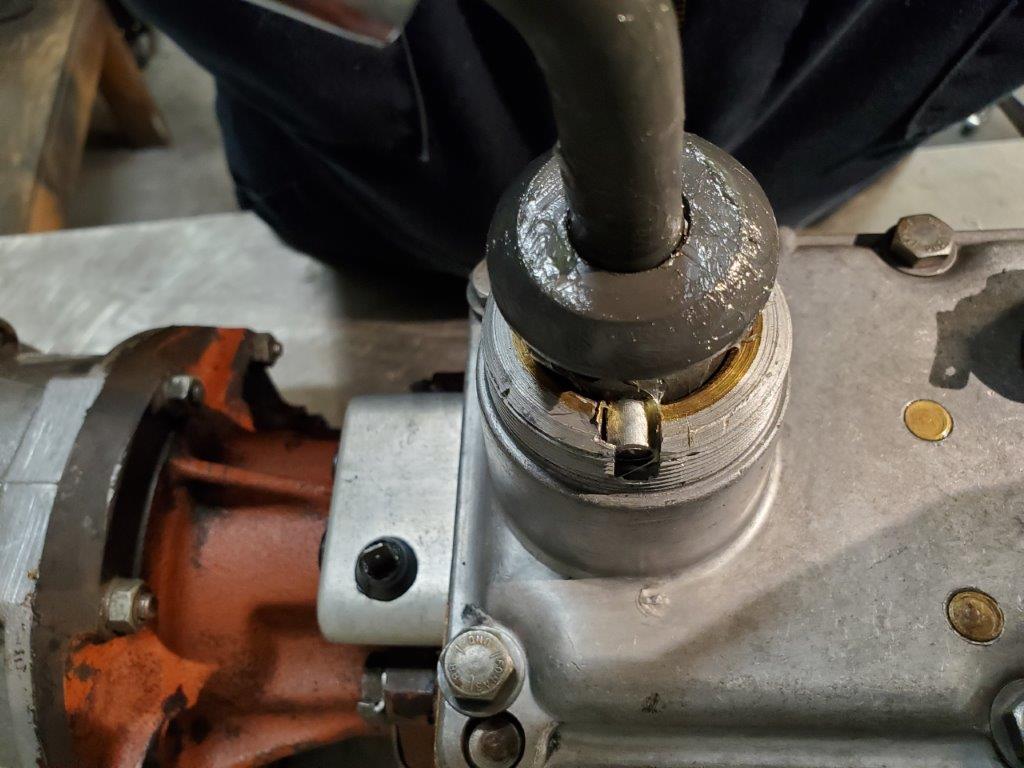
The bushing fills that space perfectly. All of this will get generously greased up before final install.
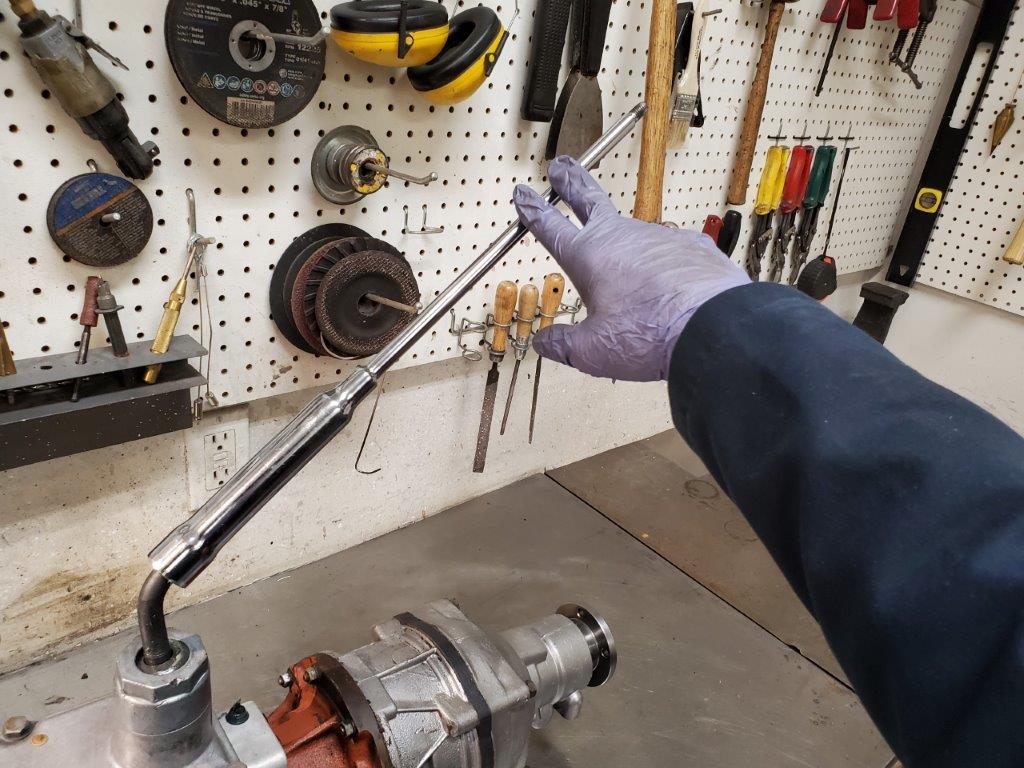
Now with even a bit of pressure, the shifter stays in gear and the side to side slop is minimal. This should be a tight Volvo! Full throttle 6000 rpm power shifts should be a walk in the park.
Since I had the clutch out, I might as well check on the rear seal as I did detect some moisture from that area. The original seal was a felt seal and it was not very good at it’s job.
In order to upgrade to a neoprene seal in the “olden days”, you would remove the original flange and take it to a machine shop and have them machine it to hold a modern seal. As discussed earlier, machine shops are getting harder to find and labor is expensive.
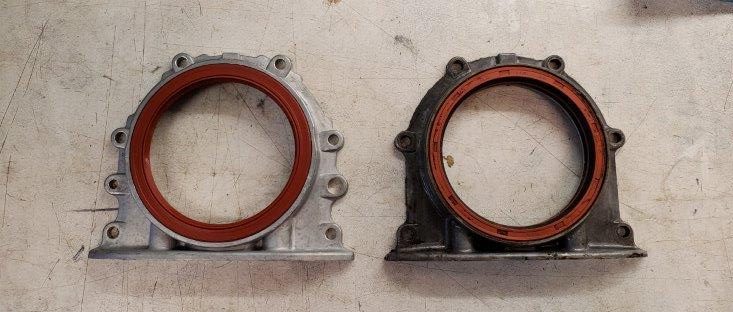
As you can see, my old flange already have a modern neoprene seal as this engine was rebuilt at some point and someone took the time to do this. (Right pic).
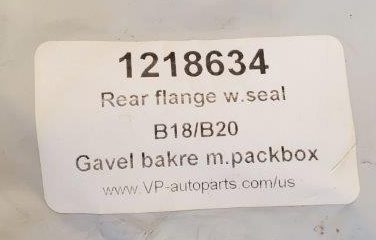
However, these days you can make it easy on yourself, just call VP-Autoparts and order 1218634, pictured to the left above. It will give you a complete flange with new seal installed. It looks slightly different as it fits the later B20 engine.
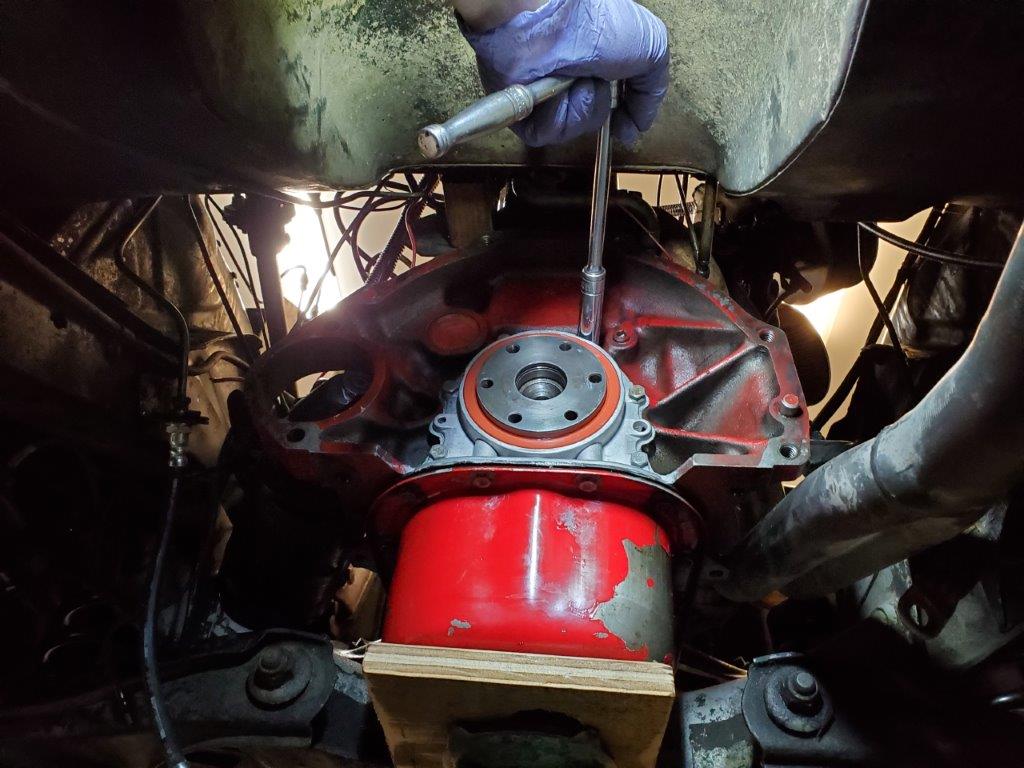
When removing the old flange, you have to make sure you separate it cleanly from the pan gasket. I used razor blades and patience as I had no interest in replacing the pan gasket. Once the gasket surface was clean, I used a thin coat of Yamalube on the gasket and s little oil on the seal.
To make sure it is centered properly, you tighten the bolts to the block first. THEN tighten the pan bolts. THEN you go to the garage fridge and uncork a cold adult beverage and pat yourself on the back.
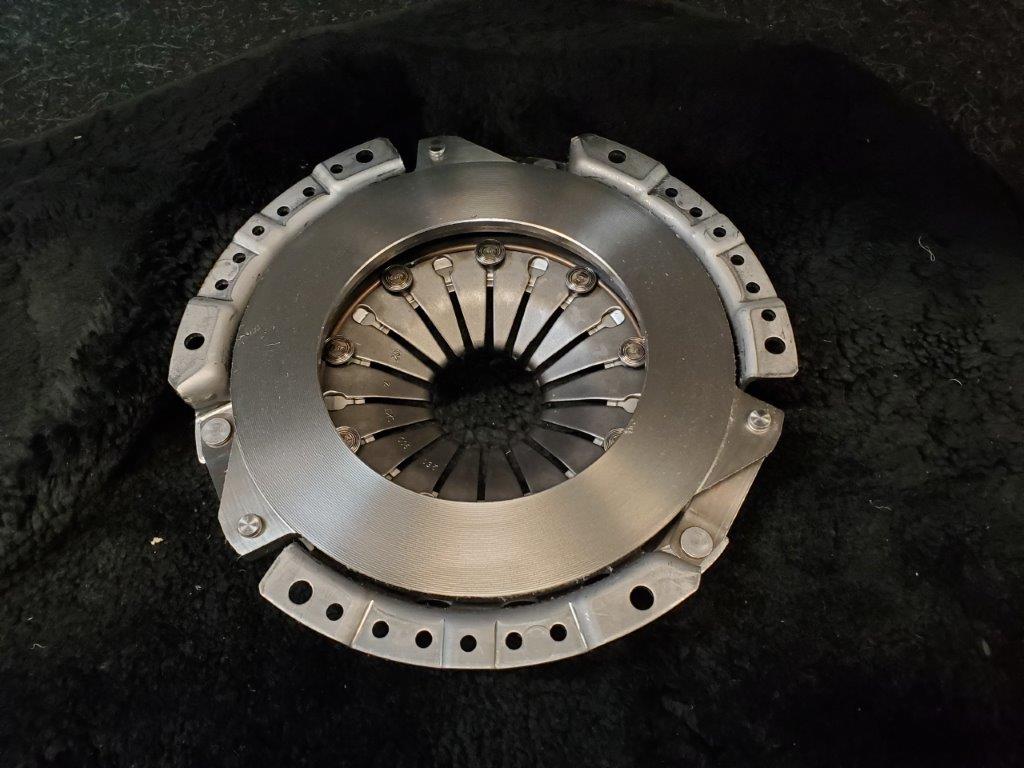
New parts are just sexy, aren’t they??!
This is a Sachs clutch. Sachs AG, also known as Fichtel & Sachs was founded in Schweinfurt in 1895 so they know their way around a clutch! They are also an OE supplier to Volvo.
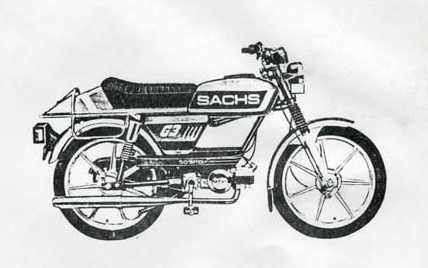
More importantly, Sachs was the brand on one of my first mopeds.
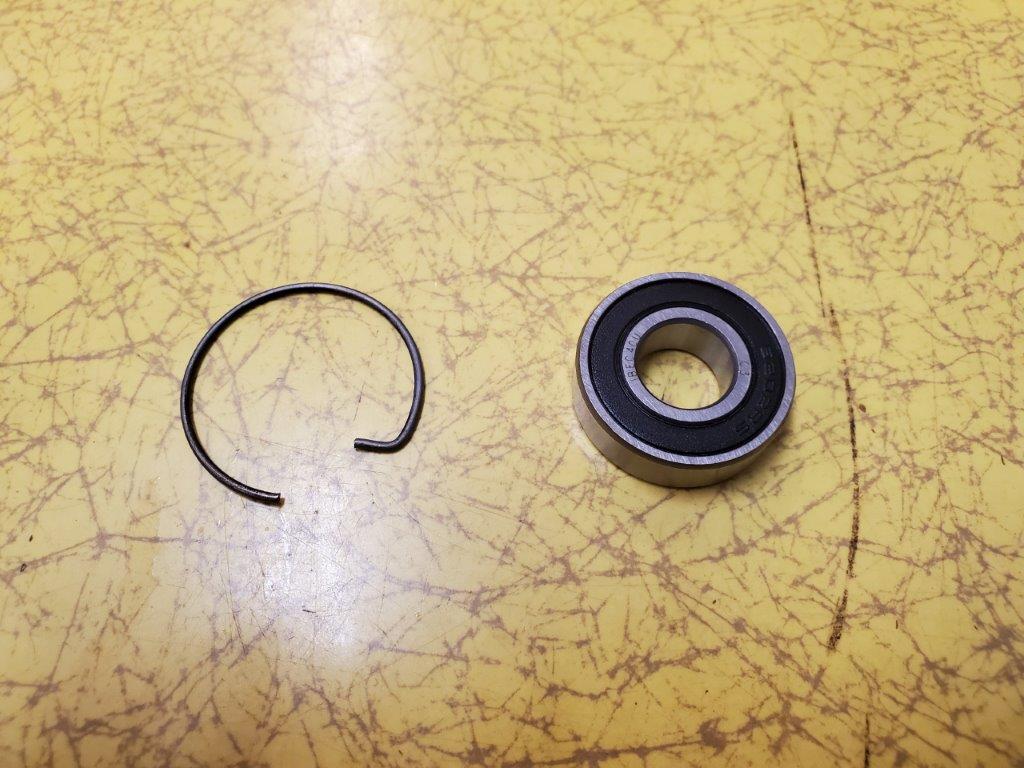
This is the new pilot bearing, held in by the clip.
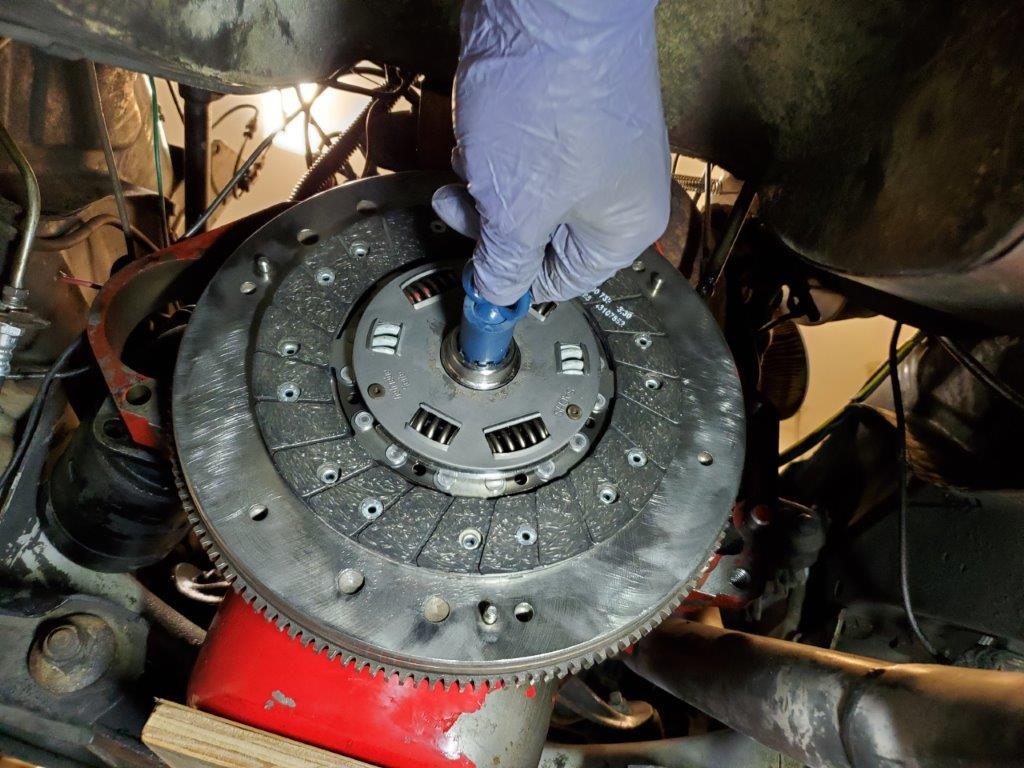
A splined centering tool is used to center the clutch disk.
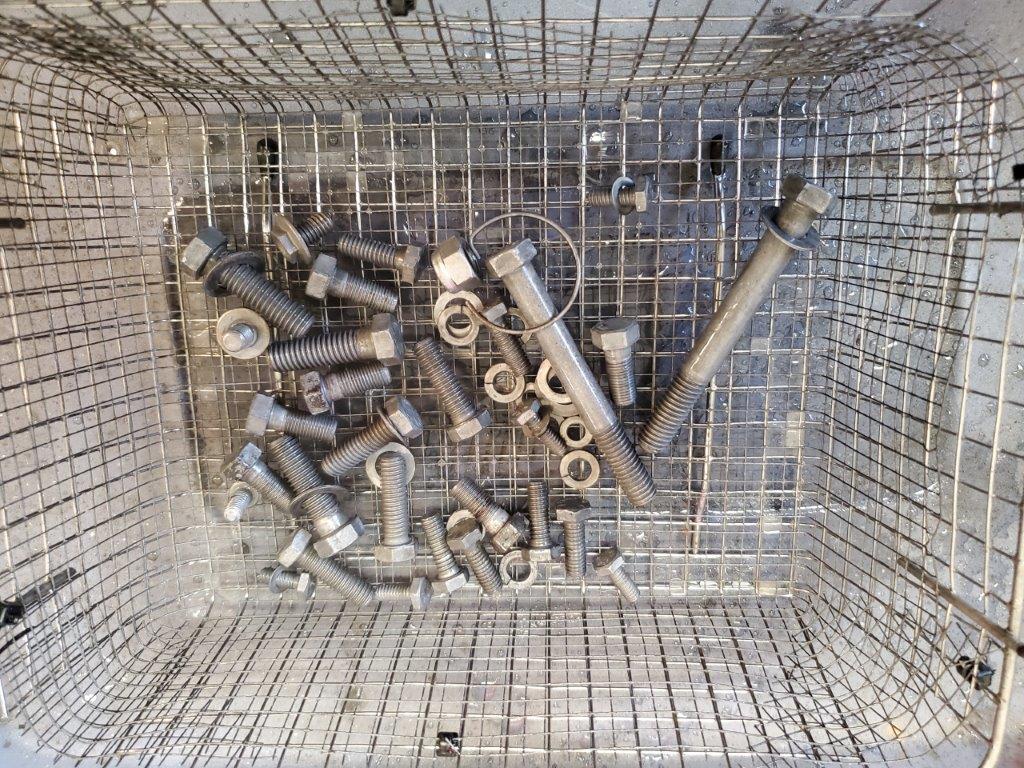
All bolts and nuts hardware gets a bath in my ultrasonic cleaner. Half white vinegar and half water will be enough to dissolve any rust and a splash of Dawn cuts the grease.
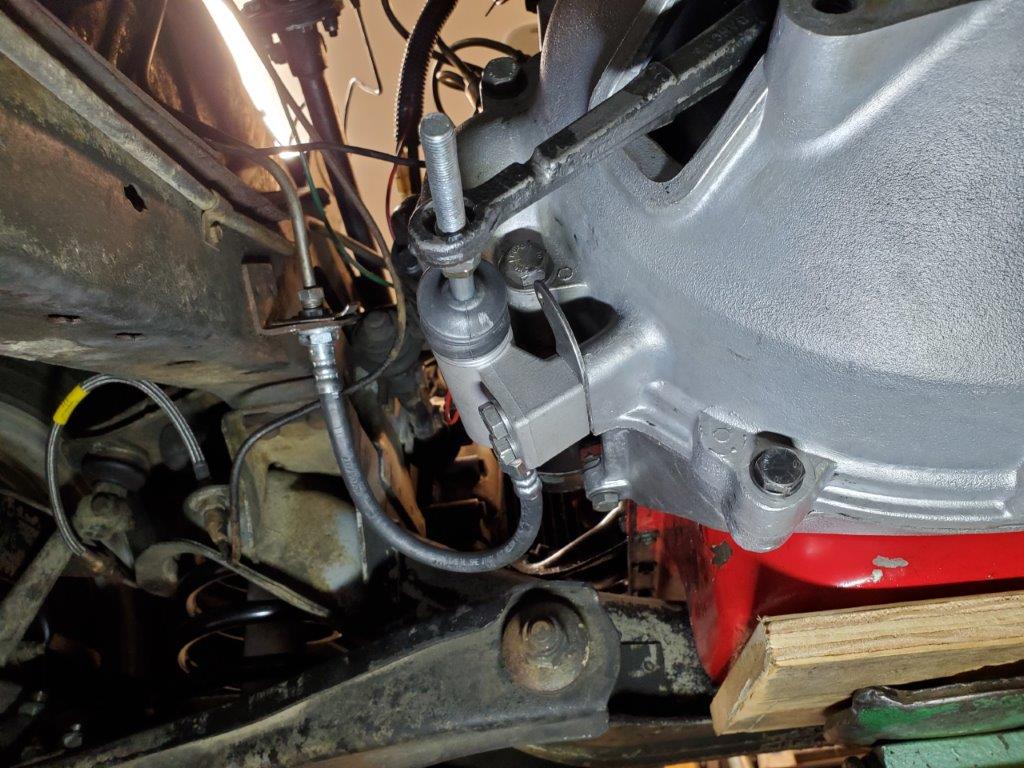
With the bellhousing in place, I installed the clutch slave cylinder to hold the clutch fork in place as it holds the throw out bearing. I have a new clutch fork rubber dust boot coming.
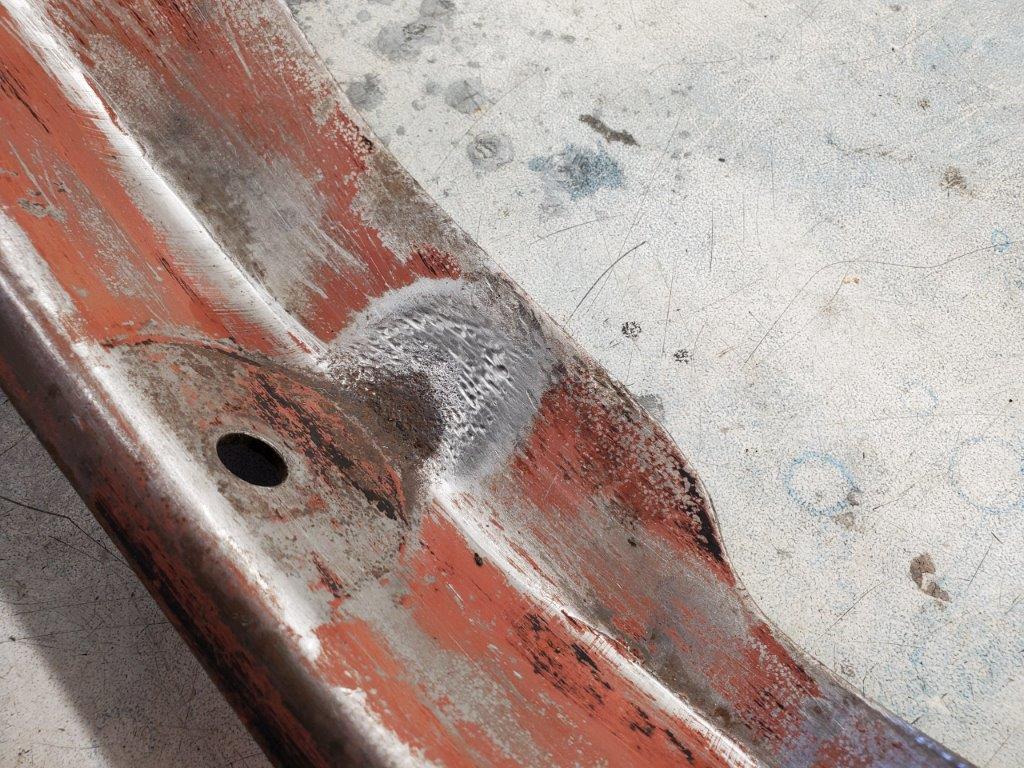
See those marks on the transmission cross member? That seems to be caused by a weak transmission rubber mount. This may also contribute to the vibration issue.
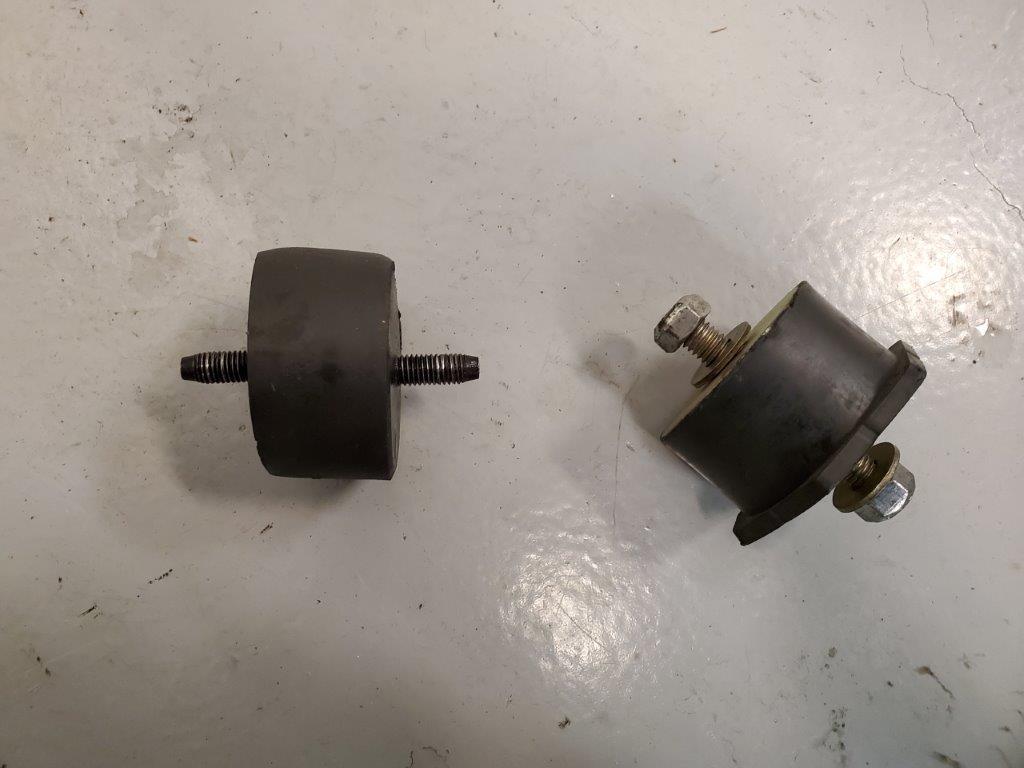
Lennart at VP-Autoparts agrees that the new reproduction transmission mount is a bit soft. I experienced this on my 1800E. The fix? Use a 164 engine mount here seen on the right.
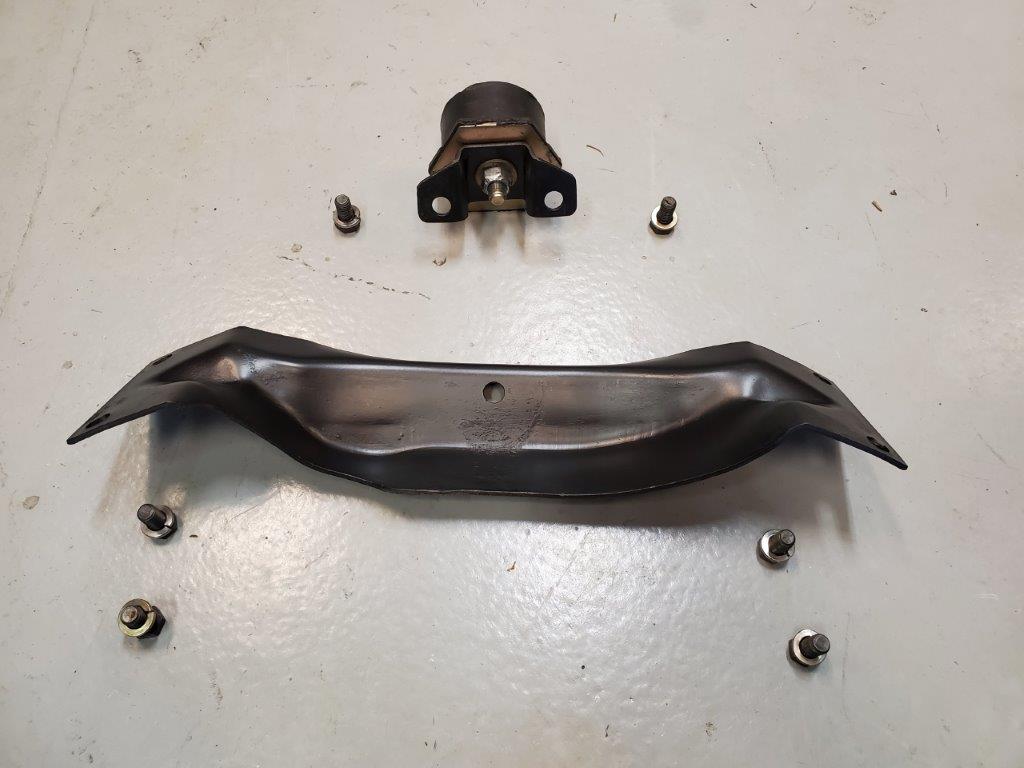
A little paint and we are ready to install.
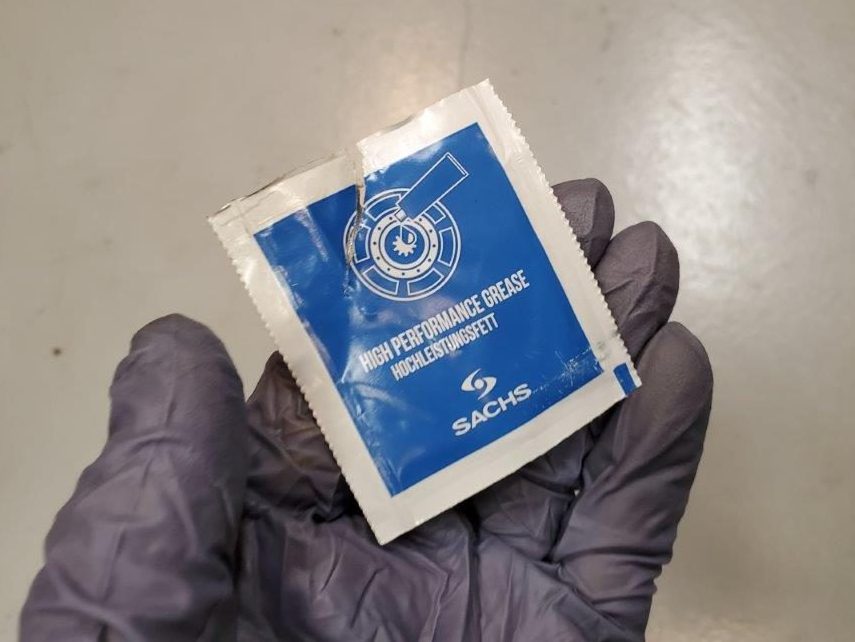
Before installing the transmission, you want to put a very thin coat of this grease on the splines where the clutch disc slides and the snout where the throw out bearing moves.
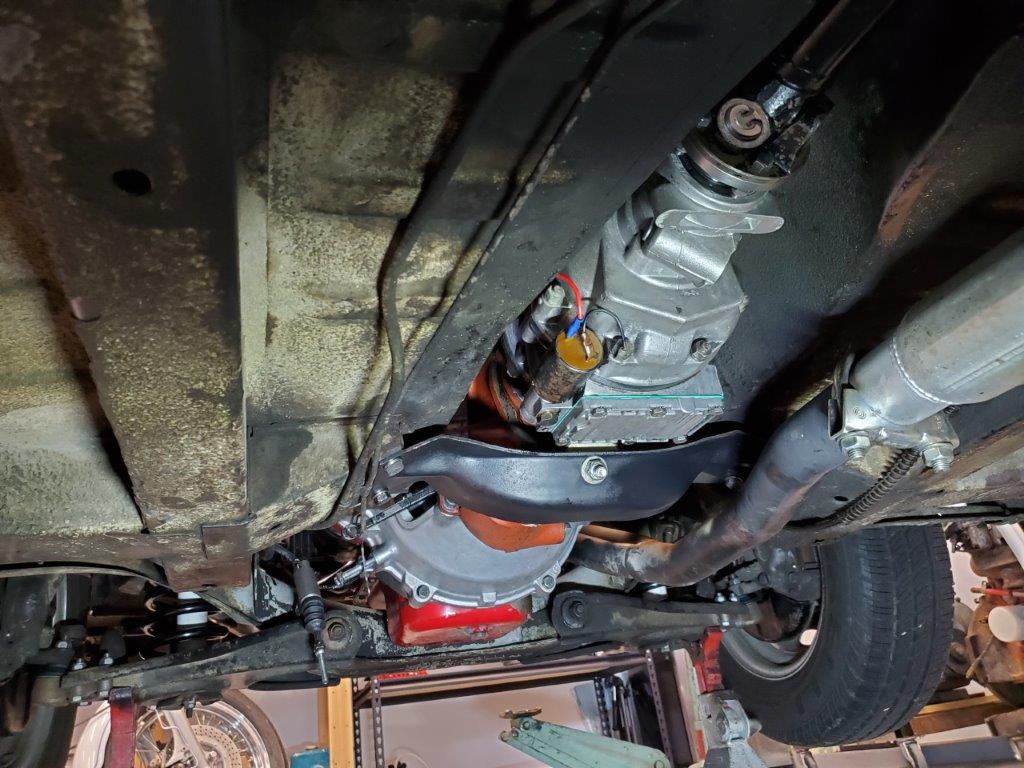
Everything is in place except the speedo output gear as I have to order a new seal.
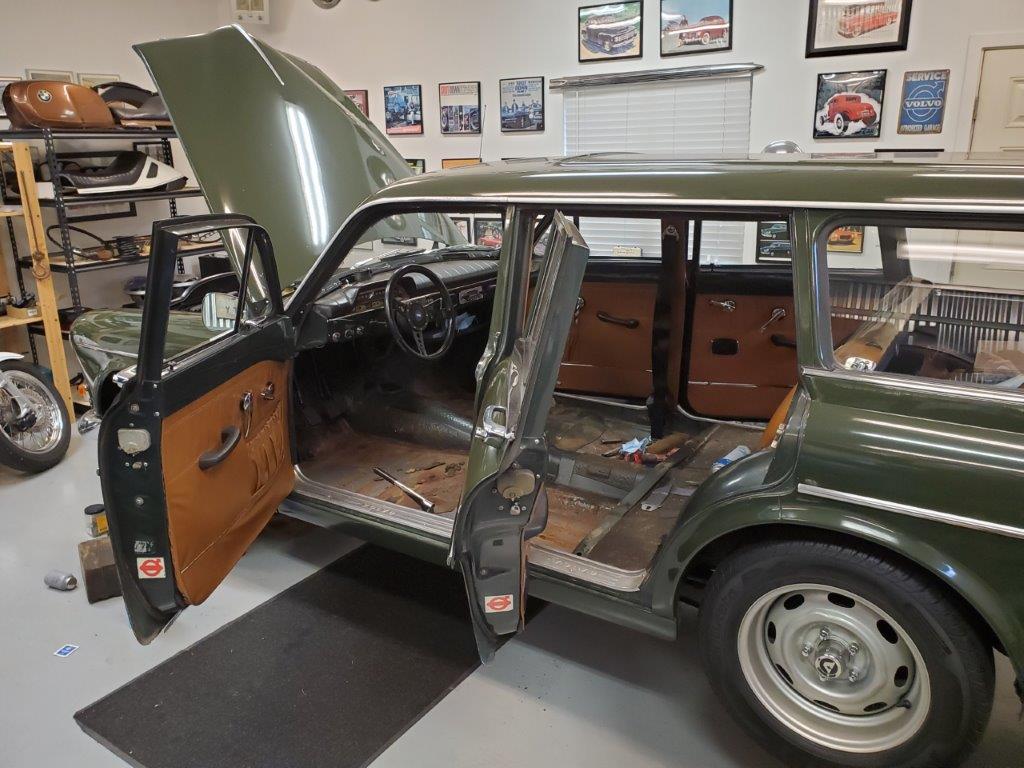
So here we go again with that what-about-that-ism… Since I had to remove the rubber mat in order to remove the shifter I was exposed to these ugly floors. Rubber is a great idea to protect the car from snow and water but there is also a good chance of condensation as rubber is not big on breathing. Now would be a good time to clean and seal the floorboards.
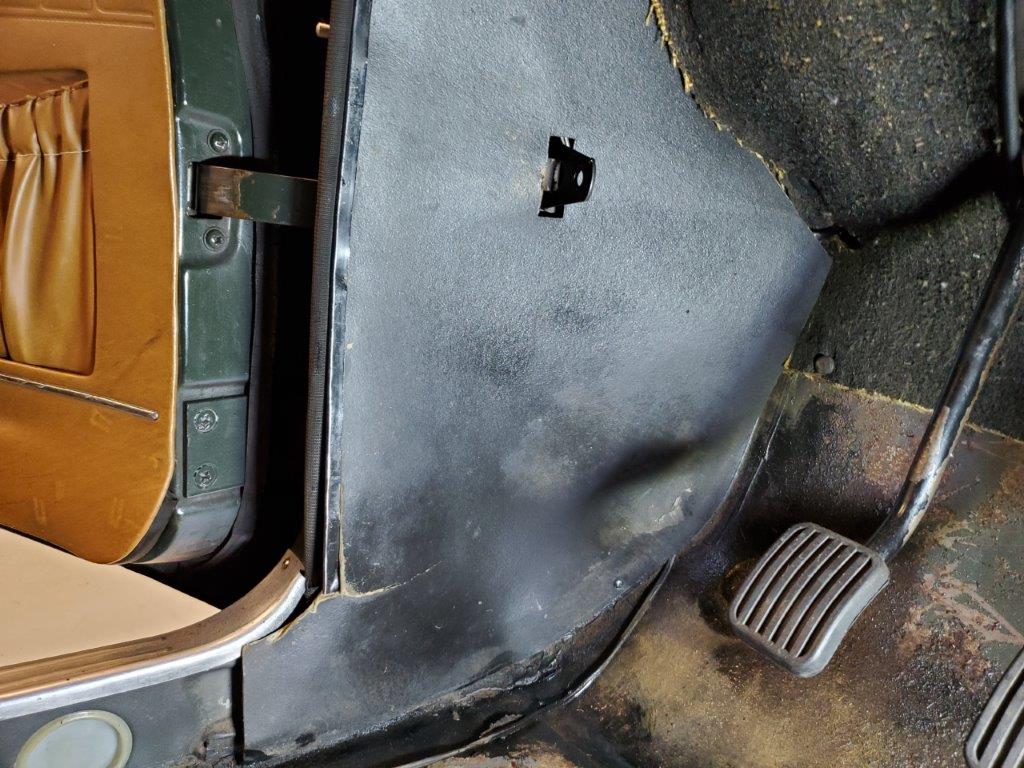
Well, ahem…since I am here, this driver side kick panel looks ugly and warped. Of course I had to remove the hood release cable to get to it. More on that later.
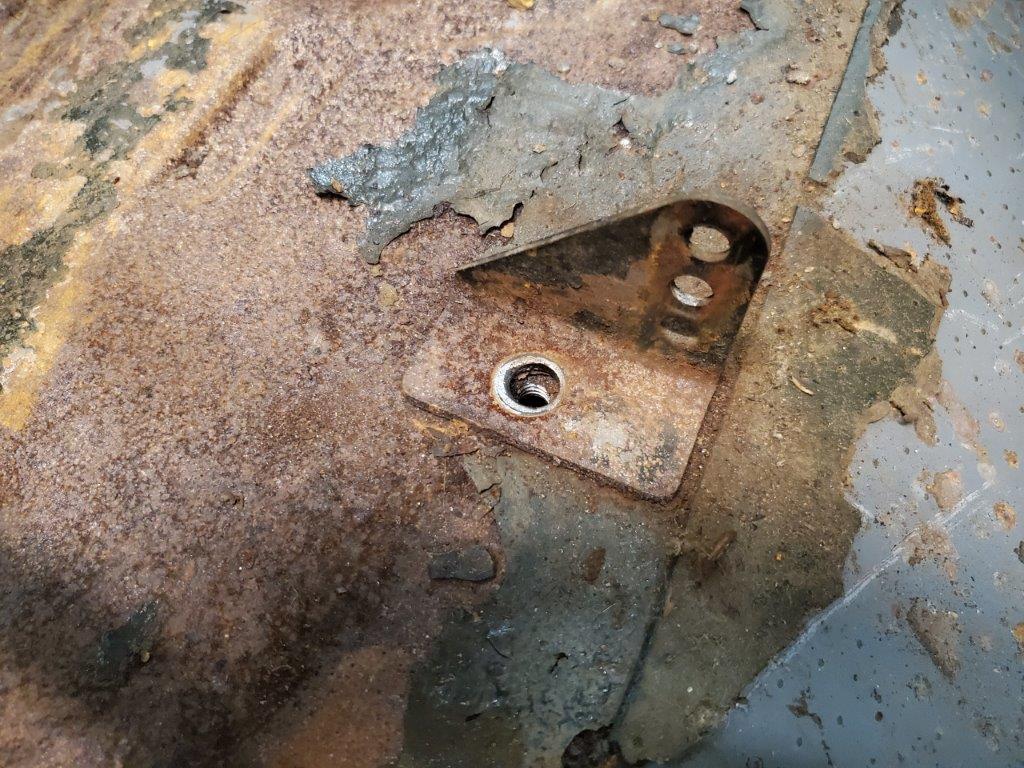
These are the brackets that holds the seats. We might as well make them pretty too, right?
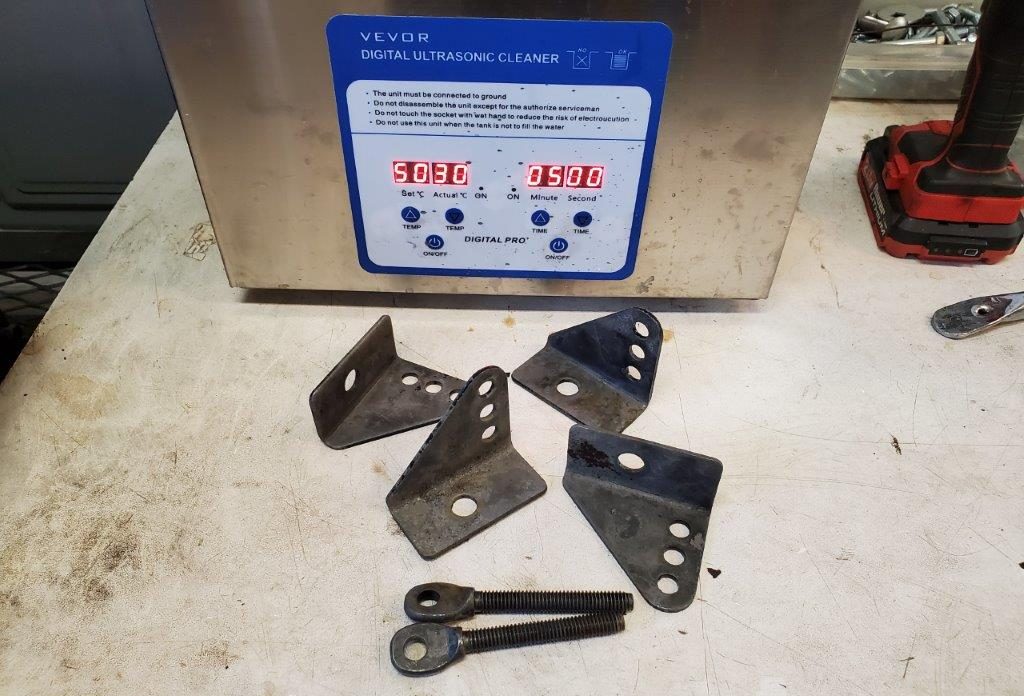
A lap in the ultrasonic cleaner did these guys some good. Ready for paint.
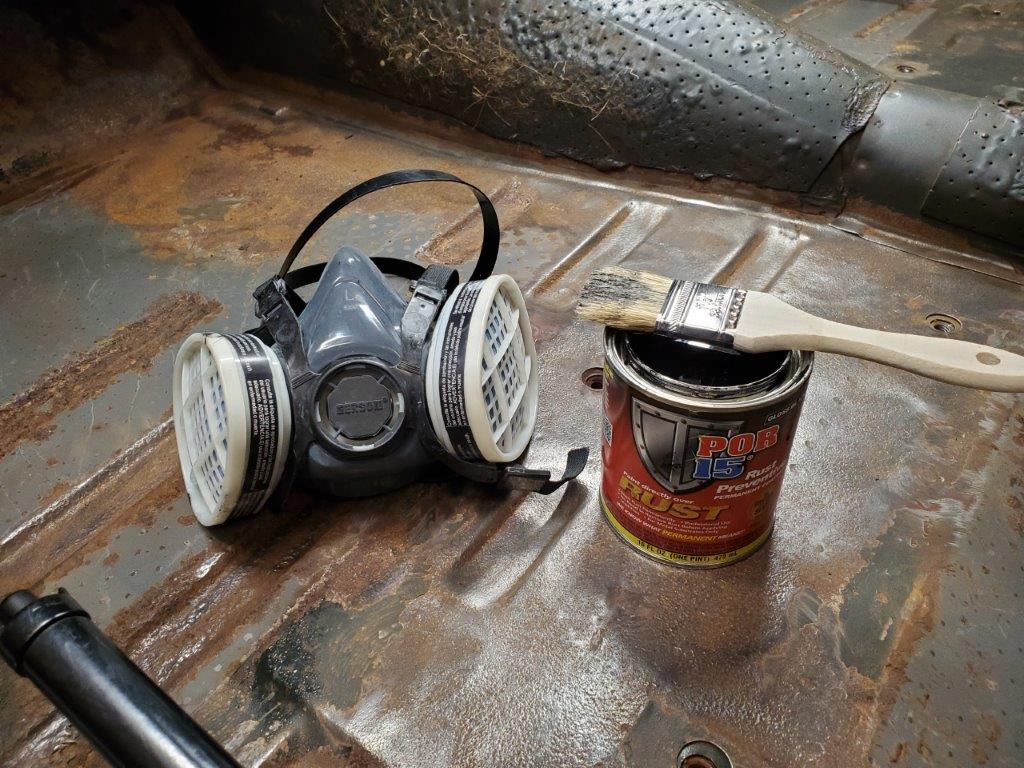
After wire brushing the floors I use POR 15 as a sealer. You want to use a professional automotive paint respirator with proper filters when dealing with this stuff. Stinky stuff!
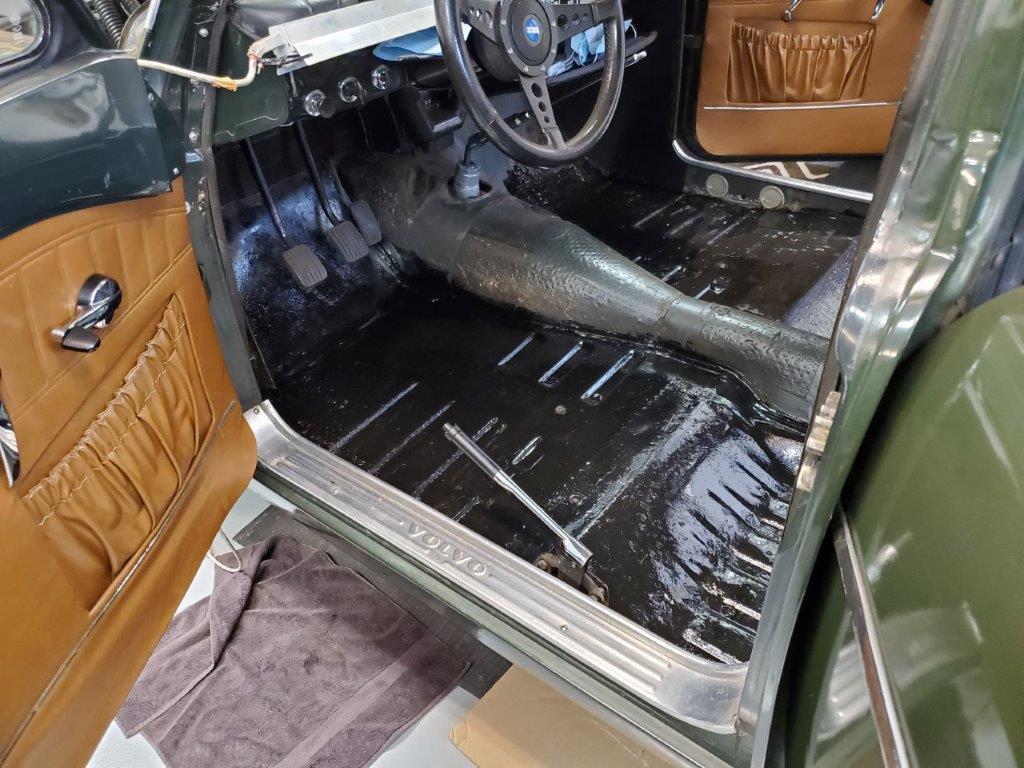
There! Much better.
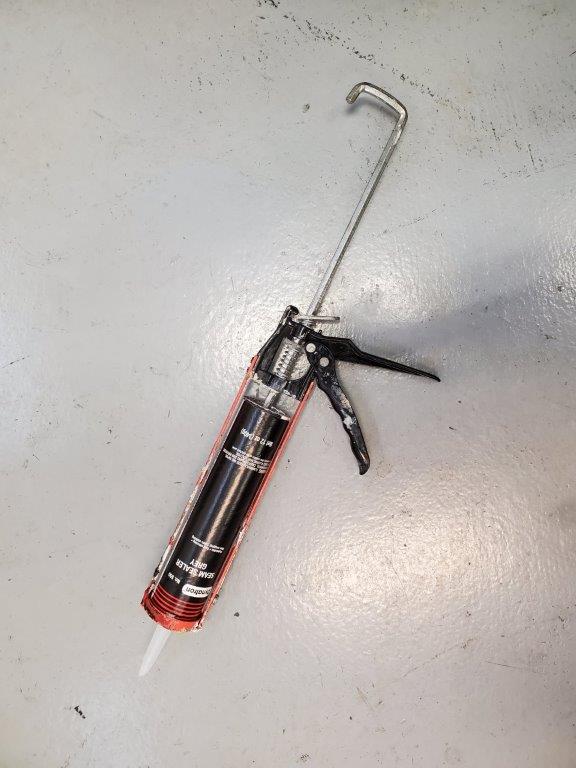
In areas where old and dry sealer came off during cleaning, I used automotive Dynatron No 550 grey seam sealer by 3M.
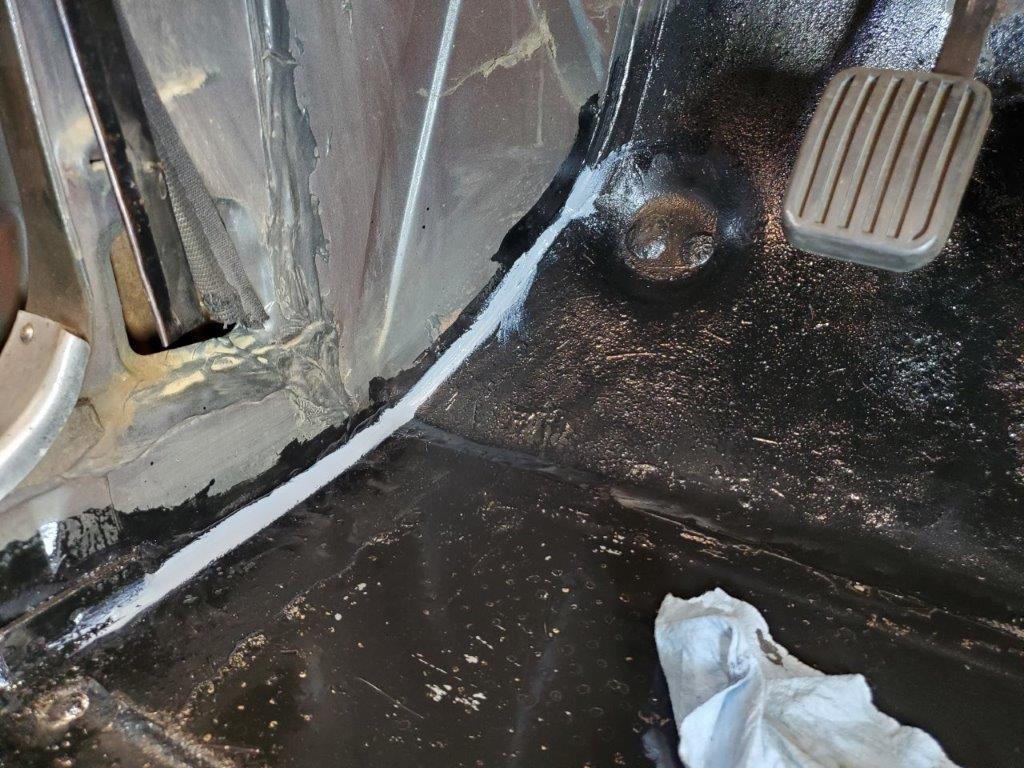
Cars are merely spot welded together so there is always chance of water or moisture entering the car in any seam unless it is sealed properly. This product is paintable so you can paint over it the next day for a factory style job.
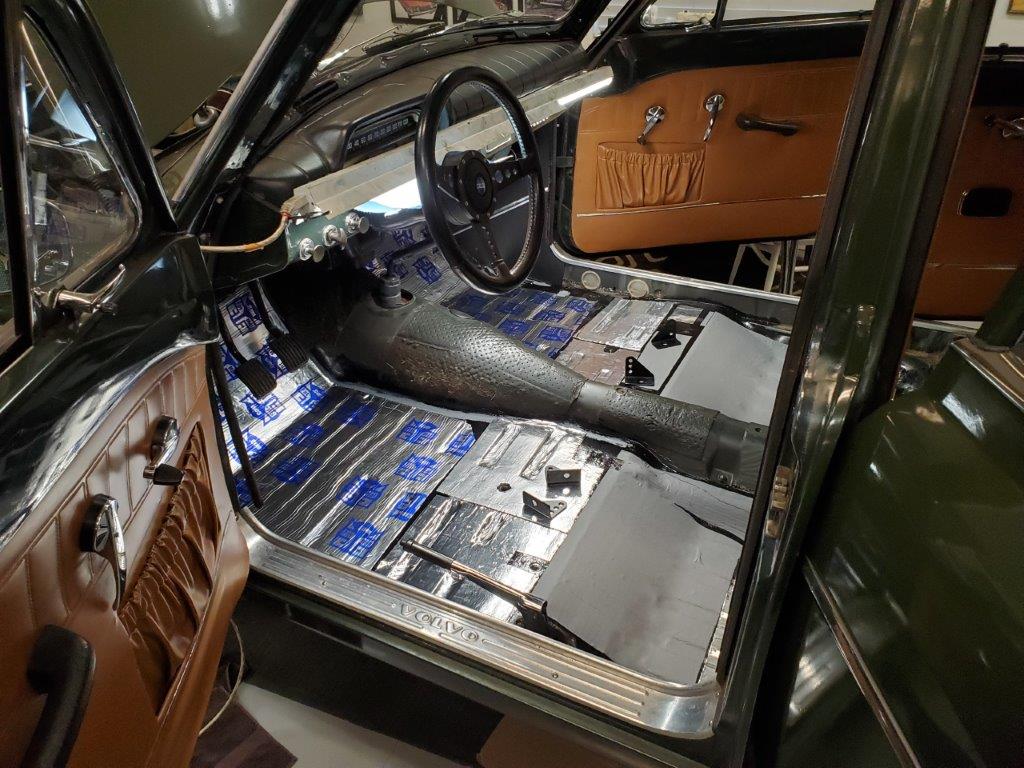
All sealed up with new sound deadener installed. The reason the sound deadener sheets are different color are just because they are from different manufacturers.
Next we tackle the plush carpet install and kick panels.
