We continue the rebuild of an early Volvo B18 engine.
As mentioned in the first installment of this resto, my machinist is retiring in three weeks so no time to waste. I plan reassemble the engine as a “short block” for now without carburation as that can wait.
Once this is done, I will get back to the body that is now in the metal shop.
Flywheel is looking a bit ugly. Turns out, just like me, it was only ugly on the surface.
This is what it looks like after a yummy vinegar bath and a little wire-brush action. Now the machinist can just take a “skiff” off the surface.
The good news: I can later use the vinegar for my salad. I call it greens and rust…JUST KIDDING! Don’t DO that!
Here is the flywheel with the clutch surface machined. Nice!
Oil pan after degreasing and after a de-rusting bath in vinegar. The fitting on the side is for the oil temp sender. For some reason, I feel this oil pan is extremely heavy. It’s been a while since I had a B18 apart but it just feel “thick” to me. Not a bad thing!
Lots of tubing cleaned and ready for paint. The tubing with the flanges is for the oil cooler. The bottom tubing is the “draft tube” for crank case ventilation. In later years, it was replaced with closed system using Positive Crankcase Ventilation (PCV) which recycles the smelly crankcase fumes back in to the combustion system.
If you wonder about the strange backdrop, it is the bed on the old Chevrolet truck.
New bores…sexy cross hatching. The cross hatching help speeding up the break in of the rings, like a “file”
A good machinist will ask for the new pistons before boring as the bore to piston clearance is the most important measurement. Too much will result in noisy pistons and oil consumption, too tight could possibly seize the piston in the bore when hot.
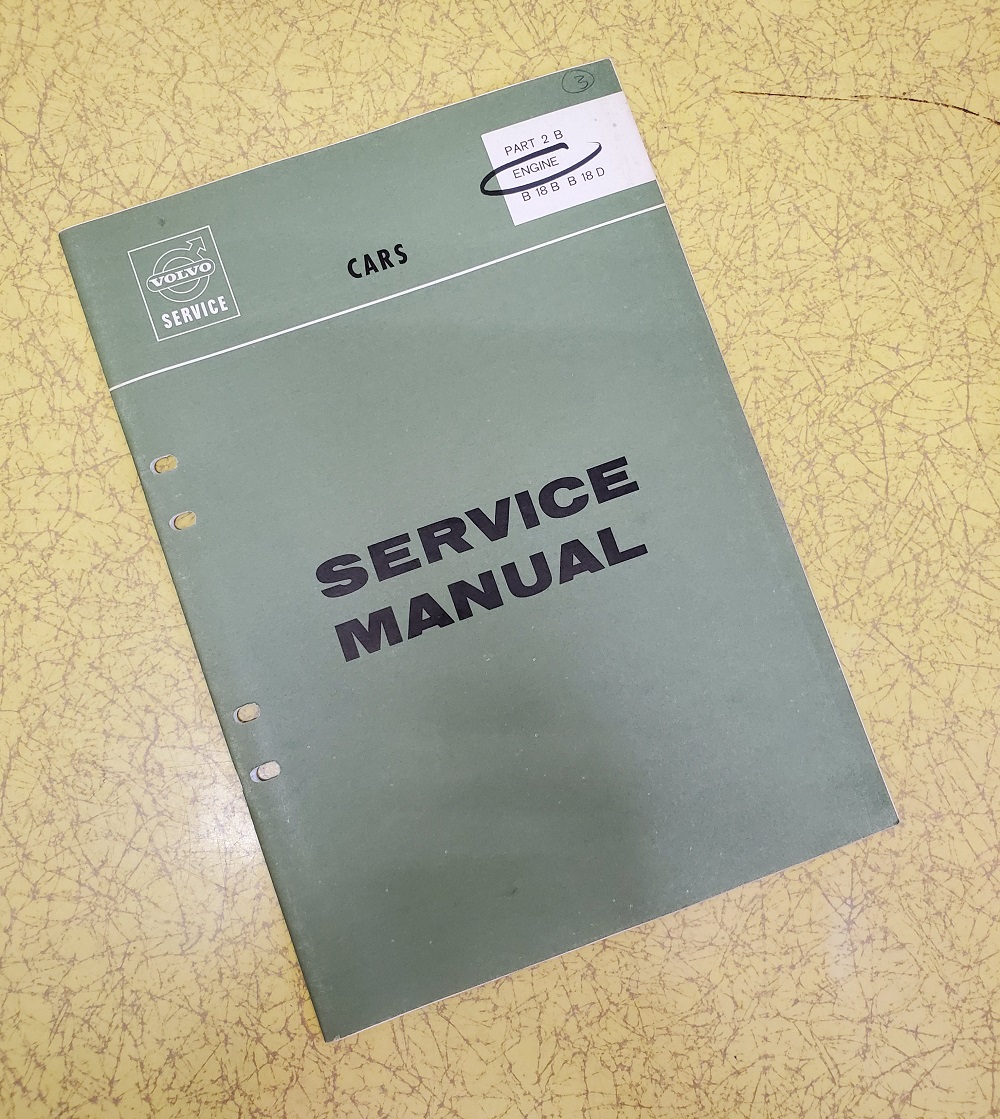
Volvo recommends 0.02-0.04 mm or 0.008-0.0016 thousands of an inch. piston clearance. How do I know that?
Zee Bible! Volvos green book of wisdom.
Gospel…
Silver block? I thought this was a red block!! It is, just take a moment to enjoy hours cleaning with a wire brush. Soon to be a snazzy red block again.
The top deck was pretty straight but not perfect. It also had some darker areas close to the water jackets. I want perfect! My machinist removed 0.0015 inches or 0.038 mm as in less than a half a mm. This is called decking.
The pistons come wrapped on the kind of foam sleeve you find for the expensive fruit in the super market.
The pistons come with new wrist pins and clips.
0.020 over. That is the first available oversize for B18. For B20 engines they start at 0.010. Also, note the piston is directional.
Nicely wrapped presents. New valves.
No, this is not Bigfoot’s wedding ring, these are the hardened seats for the exhaust valves. These will be machined in to the head. This allowed the engine to perform well with unleaded fuel.
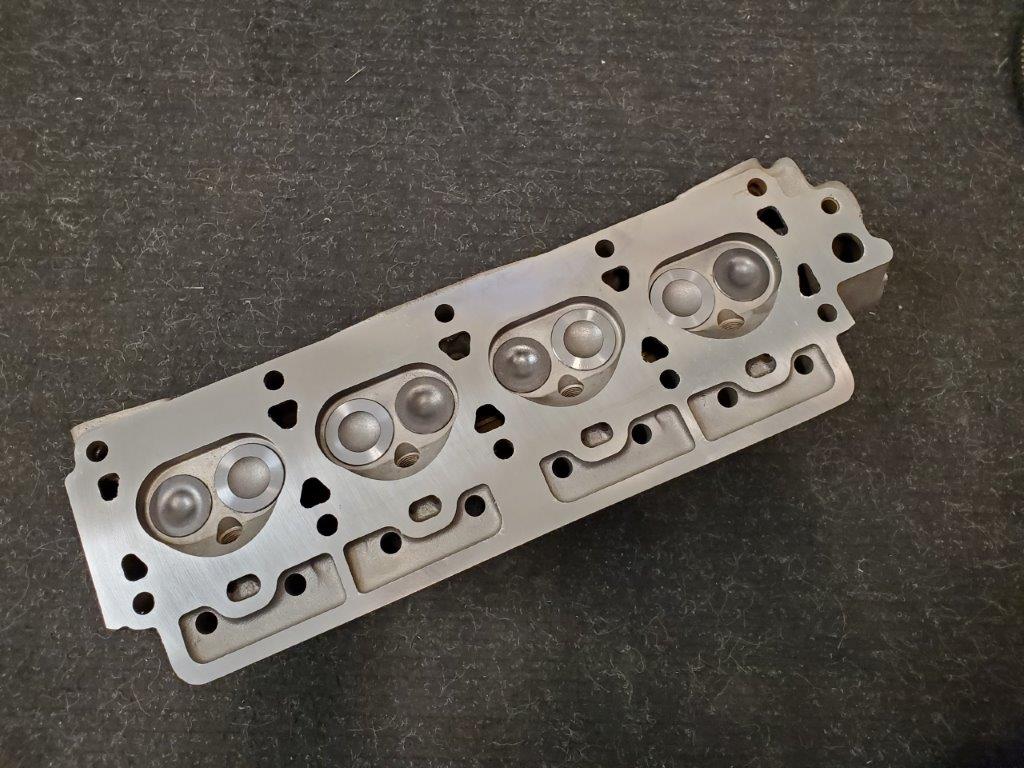
Head back from machining. About a half a millimeter was shaved off the surface to make sure the head surface is flat. Also, the valve seats were machined to match the new valves.
Between the decking and the head surfacing, we ended up with about 0.75mm worth of “lowering the lid”. This will increase the compression somewhat but will still perform well on pump gas.
The head was also media blasted. This make for a great surface for paint and also offer great grip on the gasket surface.
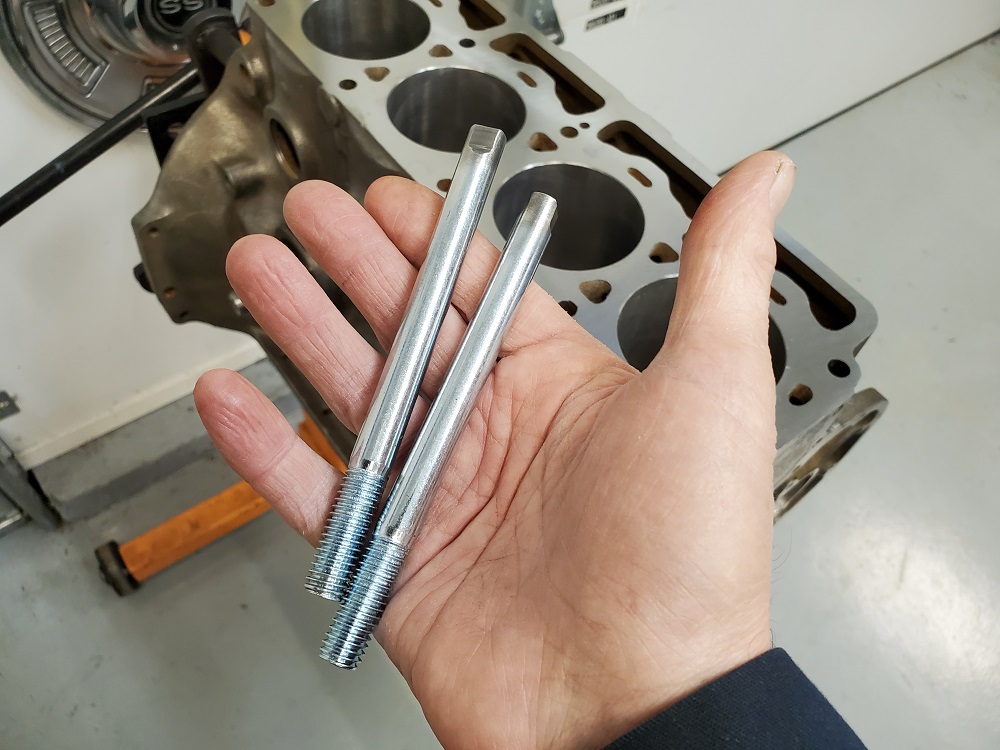
I made the guide studs from 5.5 inch long 7/16 bolts. As the top of the water pump is flush with the head and o-rings are just compressed by the head, I don’t want the head to move around at all as it goes on to the block. The studs will locate the head exactly where it is supposed to go.
We use cookies on our website to give you the most relevant experience by remembering your preferences and repeat visits. By clicking “Accept”, you consent to the use of ALL the cookies.
This website uses cookies to improve your experience while you navigate through the website. Out of these, the cookies that are categorized as necessary are stored on your browser as they are essential for the working of basic functionalities of the website. We also use third-party cookies that help us analyze and understand how you use this website. These cookies will be stored in your browser only with your consent. You also have the option to opt-out of these cookies. But opting out of some of these cookies may affect your browsing experience.
Necessary cookies are absolutely essential for the website to function properly. These cookies ensure basic functionalities and security features of the website, anonymously.
Cookie
Duration
Description
cookielawinfo-checbox-analytics
11 months
This cookie is set by GDPR Cookie Consent plugin. The cookie is used to store the user consent for the cookies in the category "Analytics".
cookielawinfo-checbox-functional
11 months
The cookie is set by GDPR cookie consent to record the user consent for the cookies in the category "Functional".
cookielawinfo-checbox-others
11 months
This cookie is set by GDPR Cookie Consent plugin. The cookie is used to store the user consent for the cookies in the category "Other.
cookielawinfo-checkbox-necessary
11 months
This cookie is set by GDPR Cookie Consent plugin. The cookies is used to store the user consent for the cookies in the category "Necessary".
cookielawinfo-checkbox-performance
11 months
This cookie is set by GDPR Cookie Consent plugin. The cookie is used to store the user consent for the cookies in the category "Performance".
viewed_cookie_policy
11 months
The cookie is set by the GDPR Cookie Consent plugin and is used to store whether or not user has consented to the use of cookies. It does not store any personal data.
Functional cookies help to perform certain functionalities like sharing the content of the website on social media platforms, collect feedbacks, and other third-party features.
Performance cookies are used to understand and analyze the key performance indexes of the website which helps in delivering a better user experience for the visitors.
Analytical cookies are used to understand how visitors interact with the website. These cookies help provide information on metrics the number of visitors, bounce rate, traffic source, etc.
Advertisement cookies are used to provide visitors with relevant ads and marketing campaigns. These cookies track visitors across websites and collect information to provide customized ads.