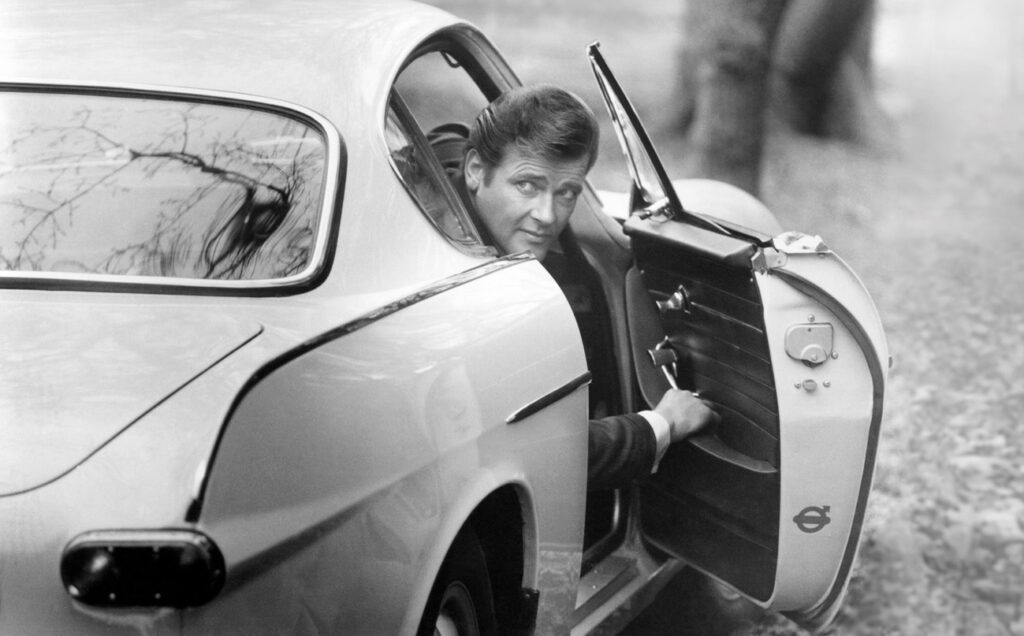
As we get older we need all the help we can get. Turning around to look over your shoulder to see out the rear window while backing up isn’t as easy as it used to be.
But modern technology has come to the rescue. Now we have video cameras and monitors available to provide relief for aging bodies.
You can install a backup camera and monitor in your vintage Volvo for less than $50 and a couple of hours of your time. These camera kits come in many different styles. I chose the kind that is designed to attach to the license plate frame, but I installed it directly under the reverse/license plate light assembly on my 1967 1800S. Refer to the links below for examples and general pricing.
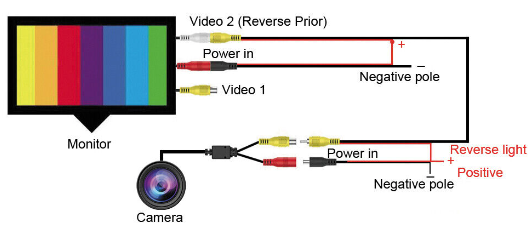
The installation is actually pretty straightforward as can be seen in the illustration below. The camera is attached to the rear of the car and its wiring is connected to the car’s reverse light wire. This provides power to the camera. The cable’s ground wire is attached to any nearby convenient bolt. The video cable that goes from the camera to the monitor has a power wire that is also connected to the reverse light wire. This video (and power) cable is routed through the interior of the car and plugs into the monitor. Connect the power wire on the video cable to the power wire on the monitor cable and plug the power cable into the monitor. Lastly, connect the monitor power cable ground wire to a nearby bolt.
Installing the Camera
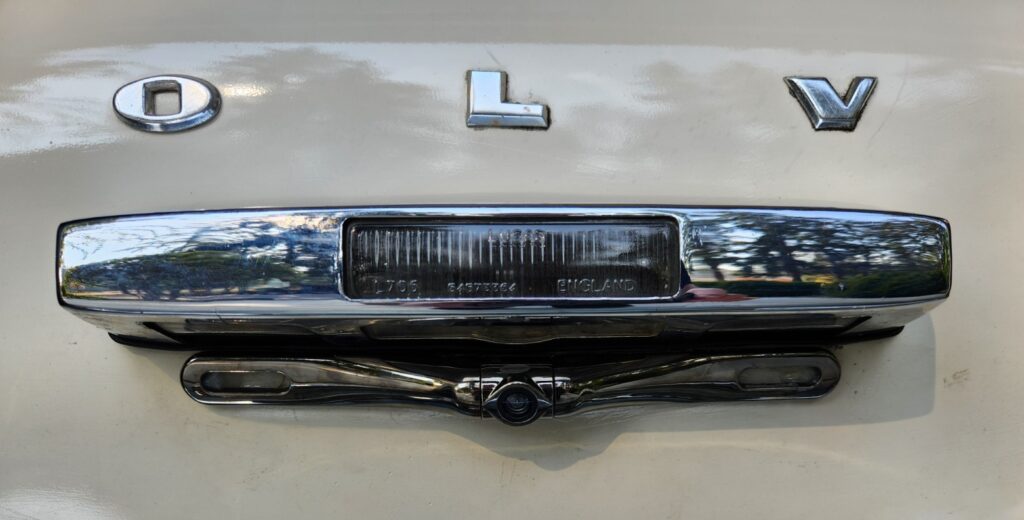
First – disconnect the battery. On my Volvo 1800 I removed the reverse light assembly and inserted the camera wire through the large center hole under the rubber gasket. Ensure the wire is in no risk of damage and reattach the light assembly, adjusting the camera so that it is touching the light assembly.
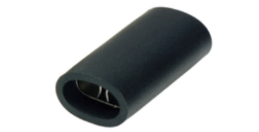
If your wiring is original, there should be a single Lucas connector on the green/red reverse light wire. Remove that single Lucas connector and replace it with a double Lucas connector pictured above. Link to eBay
Insert the car’s reverse light wires (car side and light bulb side) into the Lucas connector. Crimp bullet connectors to the red wires on the camera power cable and the long video cable and insert them into the double Lucas connector.
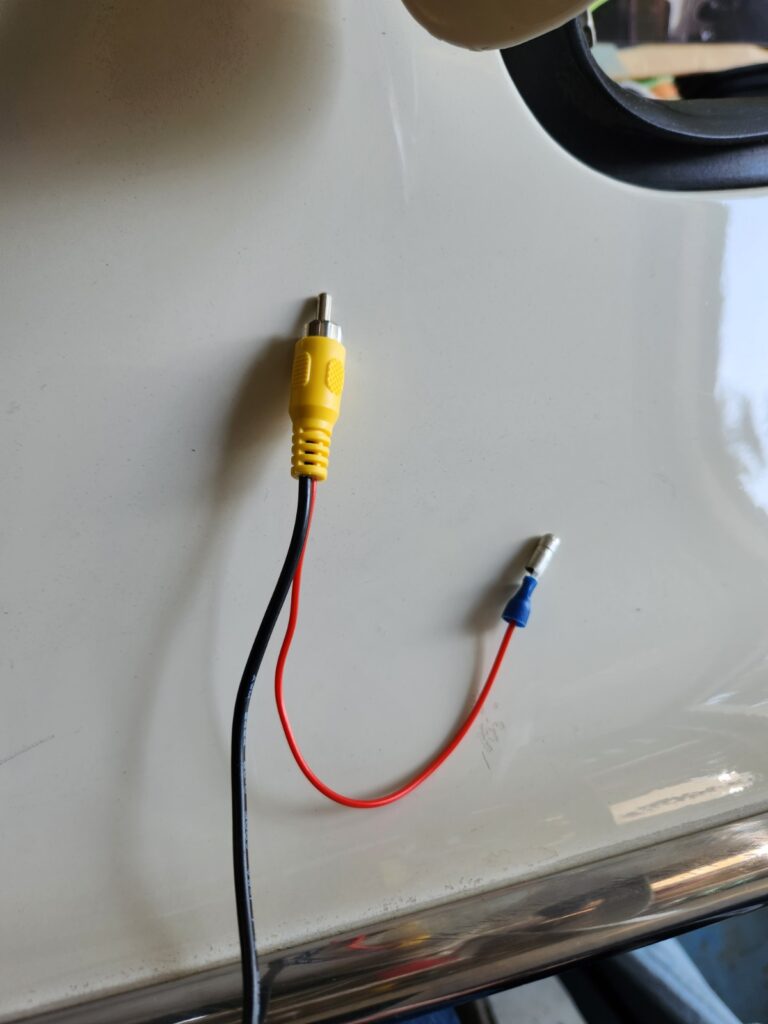
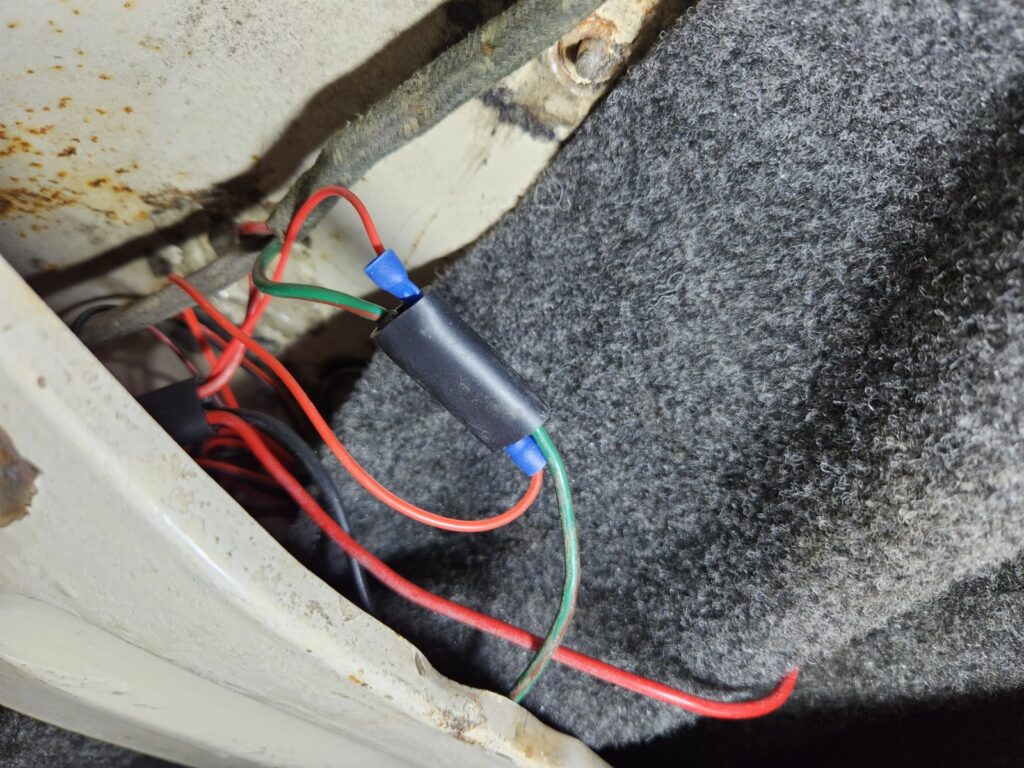
Crimp a ring connector to the black wire on the camera power cable and attach it to ground (I used one of the light assembly bolts). Connect the camera power connector and the long video cable to their corresponding plugs on the camera cable.
Wiring the Monitor
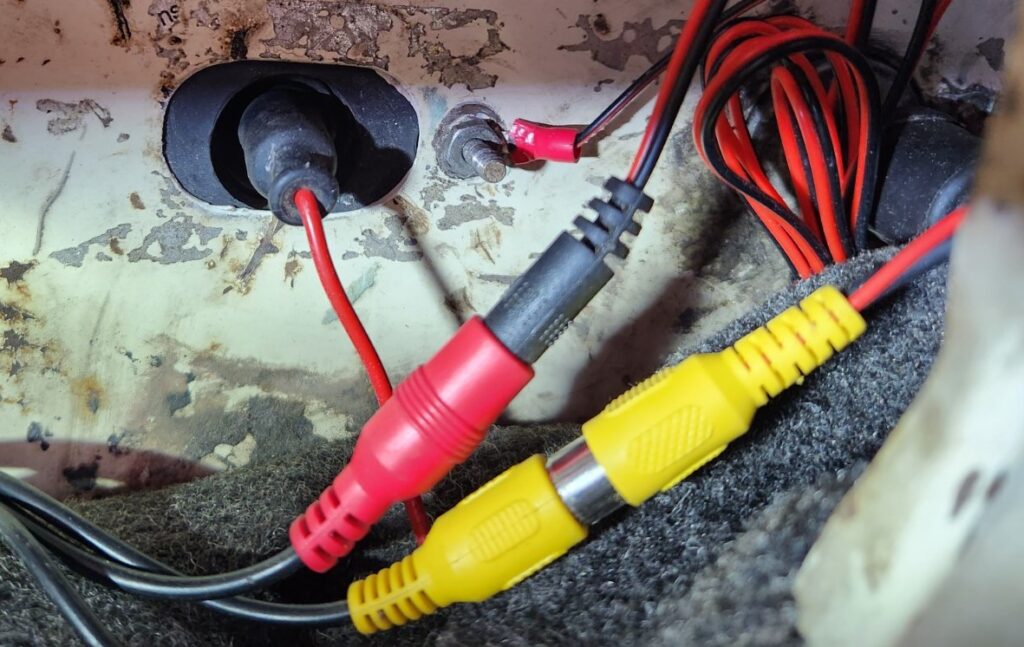
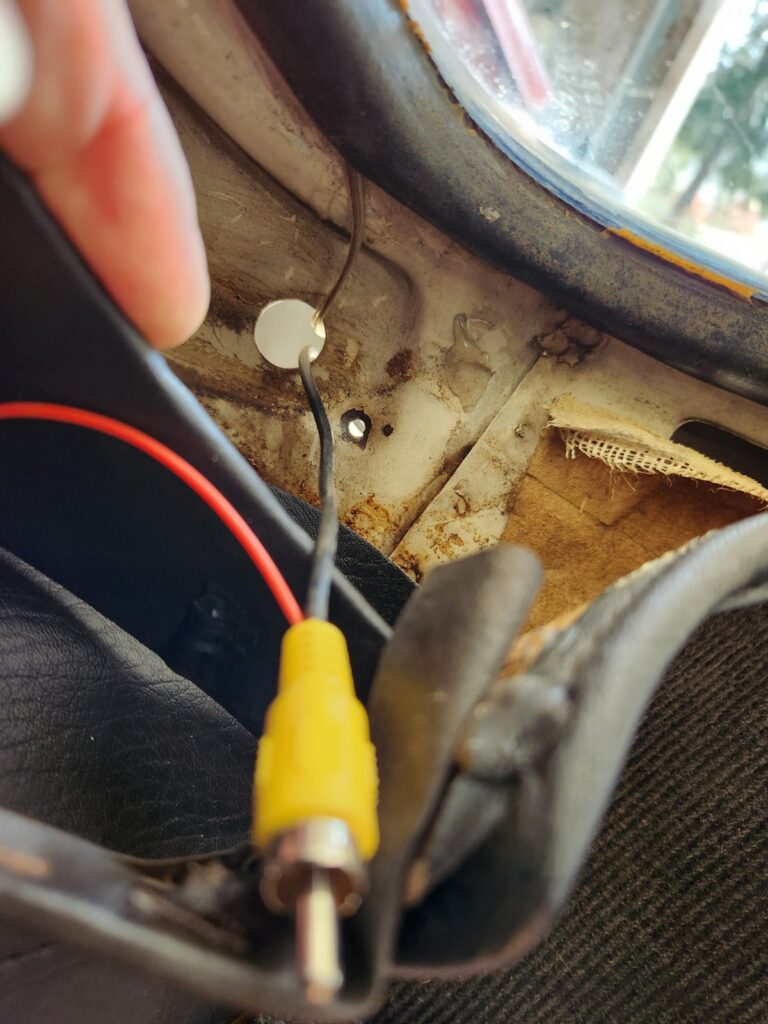
Take the long video/power cable you just connected to the camera and route it into the passenger compartment. This can be done by feeding the cable
through the hole above the wheel well (I used a red wire to show the location of the hole from the trunk side more clearly…and the A Students will add a grommet in that hole).
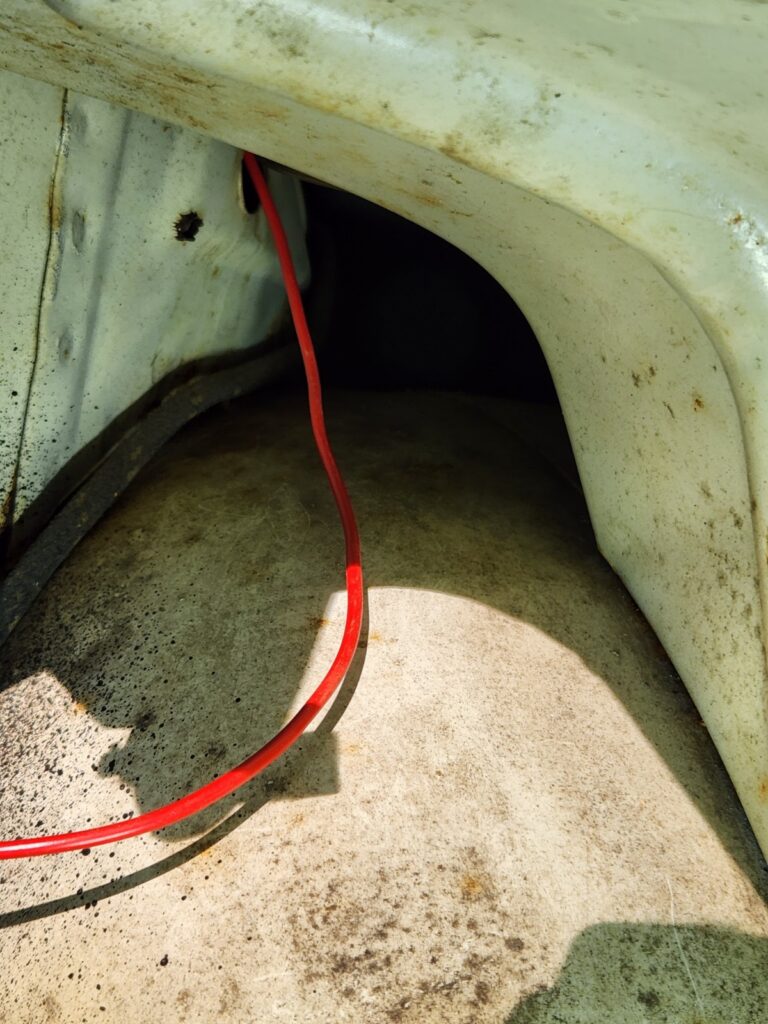
Now route the video cable to the front of the car in your chosen location (you will conceal the
cable under carpeting and other interior pieces later).
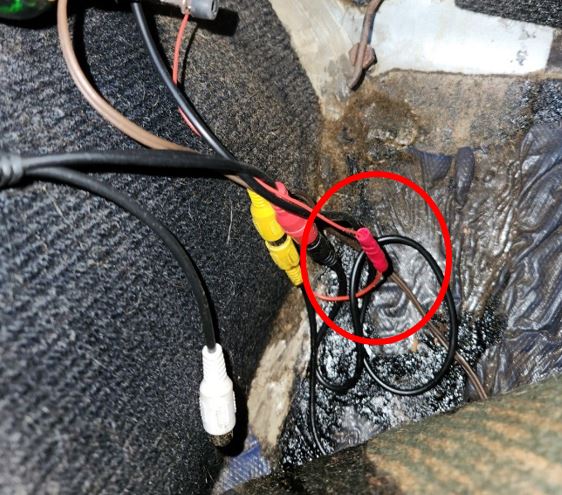
Join the red wire on the monitor power cable to the red wire on the video cable with a crimp connector (circled in red on the photo).
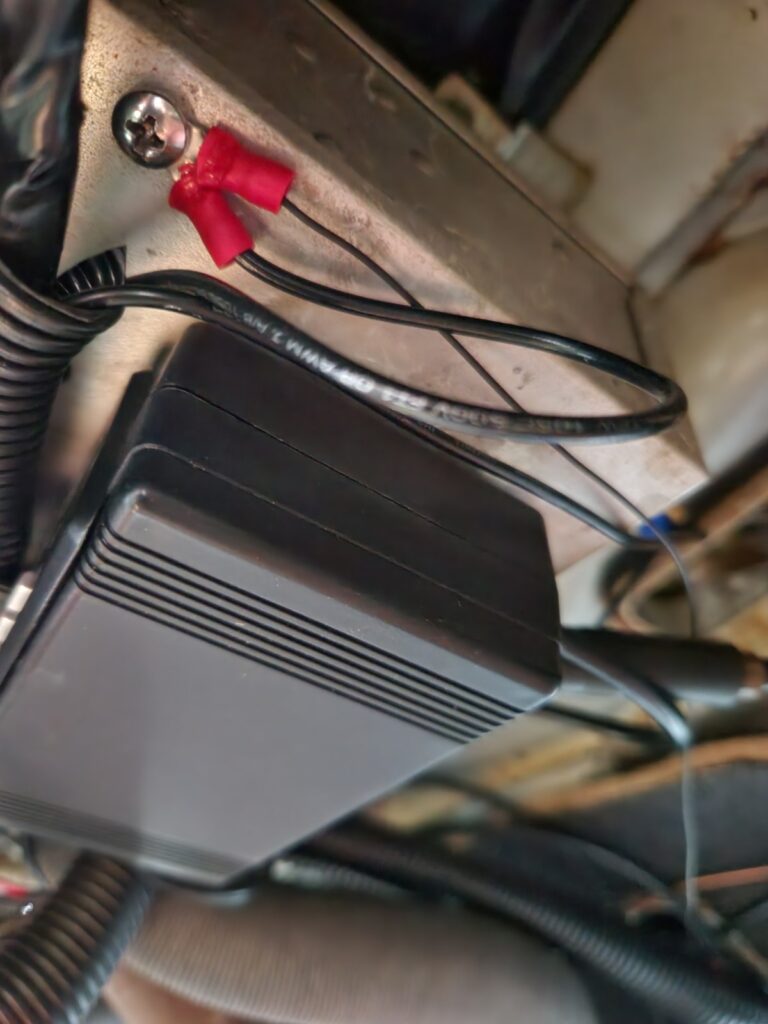
Crimp a ring connector to the black ground wire on the monitor cable and
attach it to a convenient bolt (I used the radio chassis since I was positioning the monitor on the transmission tunnel between the
heater and shift lever).
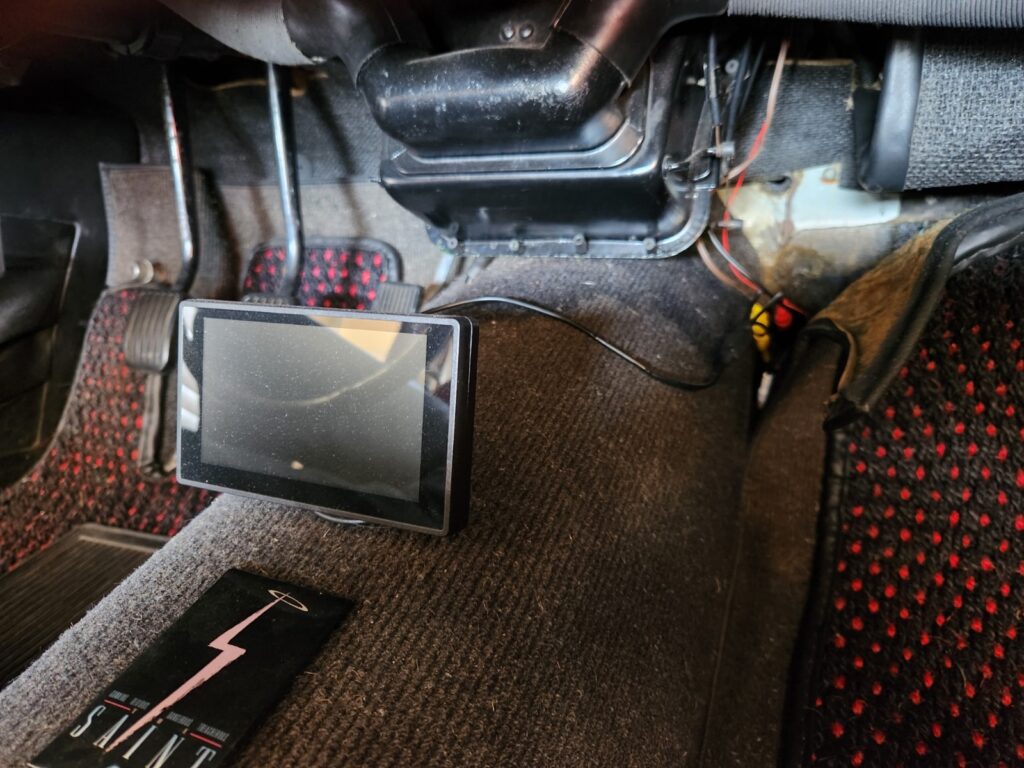
Connect the power and video cables to the monitor.
Reconnect the battery and if you’ve done everything correctly, when you shift into reverse the monitor should light up with an image of the area behind your car.
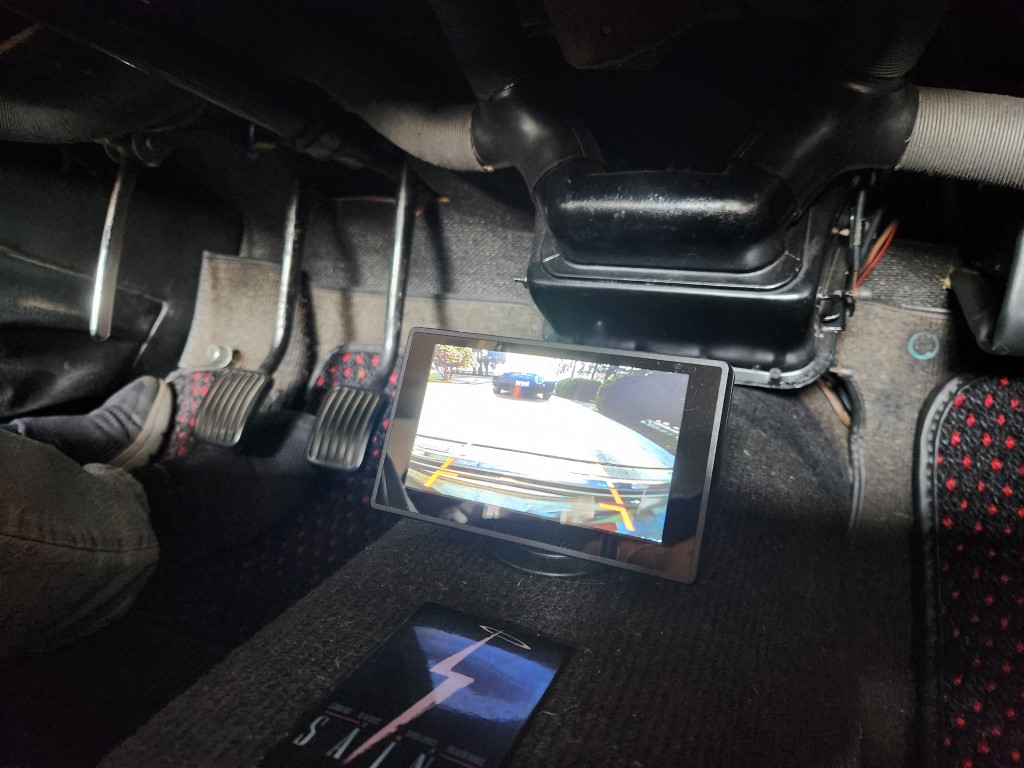
Conceal the video cable under the carpet and upholstery and enjoy your latest safety upgrade.
This is a completely non-invasive and totally reversible upgrade. No cutting, drilling or radical modification is required to install this setup. In fact, if you were going to sell your car and wanted to remove it, just leave the double Lucas connector installed and unplug the camera specific bullet connectors and remove all the cables and component. No one will ever know the car had eyes in the back of its head.
By Dave Smith
Photos: Dave Smith
